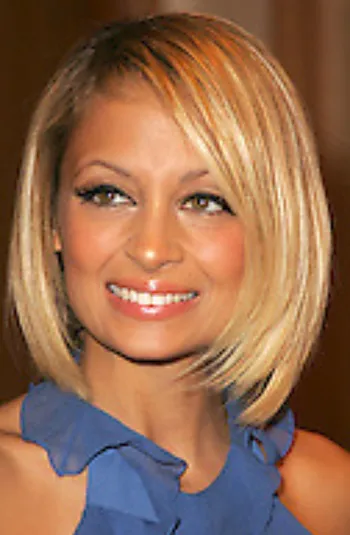
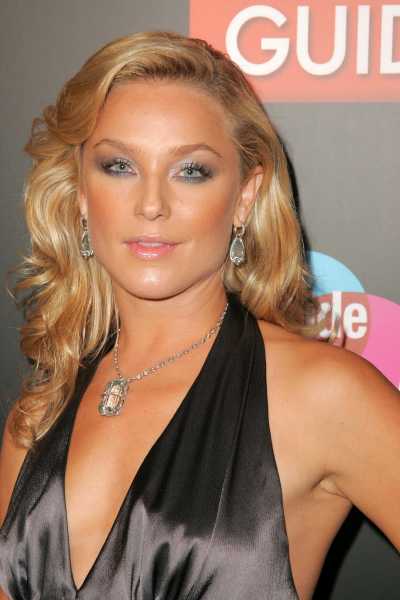
Introduction  | | Nicole Richie Front View of Soft Nape Twisted Updo Style | | | DailyCeleb.com All rights reserved - 2006. | Petite Nicole Richie has famously parted ways with her finance and her BFF Paris Hilton while still being held to an iron clad contract to film a brand new season of The Simple Life for 2006. Regardless of her private life challenges, Nicole's hair, beauty and fashion style has continued to evolve since she first appeared in the first season of Simple Life. Over the past three years Nicole has dumped her infamous long multi-hued hair extensions for luscious layers that surf the edges of more traditional bob styles. More recently the star has adopted more sophisticated fashions with matching hairstyles that focus more attention on her beautiful features and less on her previous wild child persona. She often pairs her perfectly highlighted beach blonde tresses with sleek, stylish up and down dos that give her a polished yet sassy look. Sleek Messy Nape Twist Nicole understands how to take a classic nape hair twist and make it her own in an instant. Nicole is blessed with an oval shaped face that allows her to wear a variety of different hairstyles with ease. For a recent Hollywood party she adopted a version of the elegant and sleek nape twist that started with a lot of sleek softness built into the sides and the crown area. A full sweep of sleek hair was extended across her forehead and elegantly draped across her left eyebrow and then slightly waved at the ends. Such a simple style that create instant sassiness mixed with elegance and simplicity. Steal This Style The actual twisted section was created with precision but designed to give the impression of a "just out of bed" messiness. A twisted nape style, whether soft and flirty or more defined, is perfect for adding a wide range of hair accessories ranging from skinny crystal encrusted headbands or a flirtier array of sparking beads, rhinestones or even a sassy crystal encrusted tiara or tiara comb. Step By Step Instructions - Down Style 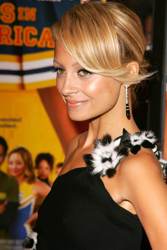 | | Nicole Richie Side View of Nape Twist Style | | | DailyCeleb.com All rights reserved - 2006. | Listed below are the detailed steps that Celebrity Hairdresser Robert Hallowell recommends that you follow to recreate Nicole's spectacular Twisted Nape Style (shown to the side): - Shampoo hair with product designed for your specific type, texture and current condition of hair. Keep in mind that hair that is allowed to "age" a few hours may be less slippery to work with than hair that is freshly washed.
- Finish shampoo treatment with a rinse-out conditioning product designed for your hair type, texture and condition.
- Complete the final rinse with cool/cold water rinse to close cuticles.
- Towel blot hair to remove excess water.
- Apply detangling or leave-in/detangler and working from the ends to the roots, carefully detangle strands. Create desired parting (front, side, high or low).
- When hair is completely detangled, apply a styling cocktail that includes a mixture of leave-in conditioner and/or styling cream or mousse. If your hair is naturally curly or wavy, you may wish to apply a straightening balm or defrisant. Note: If your hair requires extra hold you may wish to apply a styling glaze and/or gel in addition to a leave-in product.
-
Use a blow dryer set on medium heat and a large flat paddle brush. Separate hair into 2-4 inch sections with one hand as you direct the heat "down the shaft" from the "roots to the ends" with the blow dryer. - Continue to work completely around your head from side to side working with individual sections until the entire head has been completely dried and straightened.
-
 | | Nicole Richie Front Side View of Nape Twist Style | | | DailyCeleb.com All rights reserved - 2006. | Apply dab of styling cream or pomade before creating a right side part that extends from the hairline to approximately 2 inches back towards the crown. - After creating the right part, create a horizontal part that extends across the back of the head behind each ear.
- Separate the newly parted hair into front and back sections.
- Use your fingers to gather hair into a loose ponytail with the base situated right at the nape of your neck (where your neck meets your back). Note: Do not anchor the ponytail with a bungee, Blax or elastic band. This will alter the shape of the twist. Encircle & hold the base of the newly formed pony with your thumb and index finger of your right hand.
- Hold the base of the ponytail in your right hand using your right thumb and forefinger as an anchor. With your left hand grab the "tail" of the pony.
- Still using your left hand, twist the pony "tail" hair up and over your right hand in a clockwise direction. You will be in essence looping the pony tail around the base formed with your right fingers. Note: For a different shape, lightly twist the pony's tail before twisting up and around the base.
- Loop the ponytail up and over the base once or twice to form a "soft" cinnamon bun shaped twist.
 | | Nicole Richie Side View of Nape Twist Style | | | DailyCeleb.com All rights reserved - 2006. | - Continuing twisting the pony hair until it forms the desired shape. Note: If your hair is exceptionally long or thick, you may need to twist your hair more carefully to avoid a bun that is too thick.
- Use your fingers to "shape" and "mold" the finished twist. When satisfied with the shape, use bobby pins the same color of your hair to anchor it to the scalp. Use as many bobby pins as necessary. Note: Remember that this style is designed to be "sassy" and slightly messy Use your own judgment creating a nape twist that works best with your hair type.
- Sweep the remaining front hair into a long eye brushing side fringe. Use a flat iron to get a sleek finish and slightly curl the very ends up for a flirty flick.
- Place bobby pins discreetly around the side swept front hair to help anchor the sweep of hair into the back of the style.
- When hair has been completely pinned and is ready to be finished, spray the entire head with a firm hold hairspray.
- Finish with a light application of shine spray or drops carefully palmed over the top of the waves to prevent them from getting too much product which can make hair greasy or oily. Remember, a little goes a long way.
- Attach desired hair accessories such as a single flower, jeweled accent clips or barrettes. Or take the style up a notch and embed some sparkly hair gems.
This style looks stunning as Nicole demonstrates with either a strapless gown to show off your shoulders or a full or half halter top gown, as shown above. Summary The Nape Twist is very flexible. It can be twisted tighter or looser and can be carefully pinned or pinned with a messier attitude. Just use your own imagination. This style is perfect for special Prom and Party Hair events. | 


