


Wanna talk?
HairTalk® is the place for you!

Copyright 1997-2025, hairboutique.com, All Rights Reserved.

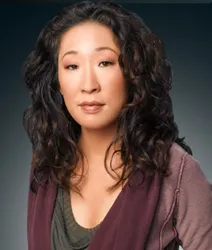
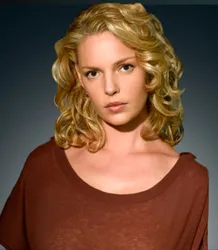
IntroductionPin curls are one of the most basic type of curls that has been around for years. Not only has it been used for a long time, this popular type of curl cycles back into popularity on a regular basis. Although pin curls can be used to curl an entire head of hair they are more often used to curl much smaller sections of a hairstyle. Pin curls are also often used as "fill in" curls for an overall look. Fill in curls are used in the areas between shaping that frame the face and run around the crown. They are ideal for creating fluffy bangs. They are also used for just the ends of the hair to unify an overall curl. Pin curls are always created on damp hair (newly shampooed or misted damp with a water bottle) and can be combined with other types of curls for a unique set. Pin curls are one of the most basic type of curls that has been around for years. Not only has it been used for a long time, this popular type of curl cycles back into popularity on a regular basis. Skip WavesThe skip wave is a prime example of a wet set that includes pin curls. A skip wave is a combination of pin curls and finger waves. To do a skip wave place the pin curls in every other finger-wave formation. When finger curls are carefully arranged in rows around the entire scalp in alternating directions they arrange nicely into natural waves. Pin curls are either forward or reverse which means basically that they are either clockwise or counterclockwise. Forward pin curls on the right side of the head are formed in a counterclockwise direction. Forward curls on the left side of the head are formed in a clockwise direction. Creating Pin CurlsTo achieve the same uniformity of curl on both sides of the head, the technique used to form a curl on the right side of the head must be mechanically different from that used on the left side. This is because you use the same hand to form curls on both sides of the head. If you are right-handed, you always use your right hand, If you are left-handed you use your left hand. The procedures described in the following sections are for right-handed people. If you are left-handed, you should use the procedure given for the right side of the head on the left side and vice versa. Counterclockwise curls are formed away from your body position, whereas clockwise curls are formed toward your body position.
Steps For Creating A Forward Counterclockwise Curl
Steps For Creating A Forward Clockwise Curl
Steps For Creating A Reverse Counterclockwise Curl
Steps For Creating A Reverse Clockwise Curl
Removing Pin CurlsAfter you have created the pin curls either let them dry naturally in the air or sit under a hood style dryer until the curls are completely dry. If you in a hurry you can use a blow dryer with a diffuser attachment. Be careful to use the blow dryer on a slow speed, medium heat, to avoid overblowing the pincurls. Once hair is completely dry, allow them to cool. Remove the pins and then use your fingers to gently fluff and arrange. For bigger hair use a brush. Finish with a good application of hairspray for long term hold. SummaryPin curls can be used to create a variety of different styles. Pin curls are more of a finishing touch than an entire do - used for the back when the front's in rolls, or to clean up the ends if you've tried finger waves. You could conceivably do your whole head in pin curls (but in that case you're probably better off with small rollers). Social Media Network InformationPlease follow me on Twitter at: http://Twitter.com/HairBoutique. I look forward to meeting new Thank you for visiting us at The HairBoutique Blog and for leaving your comments. They are very much appreciated. We apologize in advance but must remove any direct advertisements or solicitations. - Revised Publication Date: 05/03/10 |
| If you want to talk more about this or other hair care articles on HairBoutique.com or anywhere else, please post a message on HairBoutique.com's Hair Talk Forums.
|
Please follow us on Twitter at: https://Twitter.com/HairBoutique. I look forward to meeting new people from all walks of Twitter and learning from their Tweets.

