


 Curling irons will be useful for creating texture, notes Basilisco. “Over the past few seasons, we’ve straightened hair in every way possible,” he says. “It’s time to do something different.” Luckily, today’s curling irons offer barrels in a range of sizes and even a range of shapes—from traditional round to the more square shapes that create a Z-pattern to spiral rods that


Wanna talk?
HairTalk® is the place for you!
Copyright 1997-2025, hairboutique.com, All Rights Reserved.

Introduction
It used to be that the primary styling tool used for hair was a good brush and comb. Even back in the 1960s if you used an iron on your hair it was probably a clothing iron used to press hair stick straight. As the hair world evolved the hair iron technology has followed. In current times one of the worst things you can actually do for your hair is use a clothes iron for your strands. Studies have shown that clothing irons can leave hair scorched and damaged. Hair iron technology has changed drastically since it was first introduced. The options for both professional and personal irons offer a dizzying array of features. Today, irons are available in every imaginable size and shape. Irons are multi-purpose and often can both straighten and curl at the same time. Irons also have an amazing array of features. In addition, thermal protectors are now added to almost every mousse, lotion, styling spray, gel, cream and wax to both help keep the hair healthy and hold the style in place.
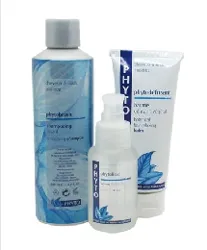
Together, these tools put the power in your hands to create whatever style suits your mood—no matter what your natural hair type. Listed below is basic information about irons including flat, curling and any other types of irons. There are now hot tools sold on the hair care market that combine multiple plates for multiple actions. One iron can straighten, curl, crimp or create waves. Prepare Your HairBefore you utilize any type of hot tools on your hair ranging from blow dryers to irons, you should always make sure to protect your tresses. While styling products are designed to provide fullness, shine, shimmer and hold, they also offer protection against heat damage. Heat protection is the key to prevent constant use of hot irons from damaging strands over the long haul. If you have fine to normal textured hair create a styling cocktail that includes a leave-in conditioner, light styling gel or mousse. If you wish to straighten your hair mix a temporary straightener into the cocktail. Ideally the straightener of your choice should include a frizz buster to maintain those new straightened tresses. You also may wish to finish your ironing process with the addition of a good shine product. If your hair is thin or fine you may need to create a much lighter styling cocktail. Applying too many styling products may wear down fine strands. If you have to limit the amount of product added to your tresses than always select one that includes heat protection if you are going to use a hot iron. Hair which is coarse, naturally curly or wavy may benefit for the addition of a shine wax use before ironing to help press in shimmer and gloss.
A popular myth is that people with really fine hair should spray it until the desired design is actually ‘cooked’ into place,” says Nuccio Basilisco, co-owner of ESBI Salons in Sterling Heights, MI, and Cleveland, OH. “The problem is a hairspray with a lot of alcohol actually enhances the damage and makes the hair more flyaway.” He recommends applying a firm gel at the base and a light mousse on the ends to make hair manageable, without frying it. Then, dry hair before ironing. Getting It Straight
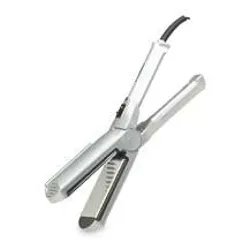
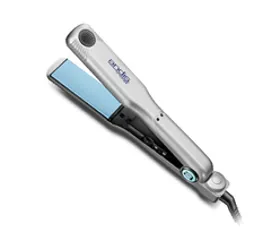
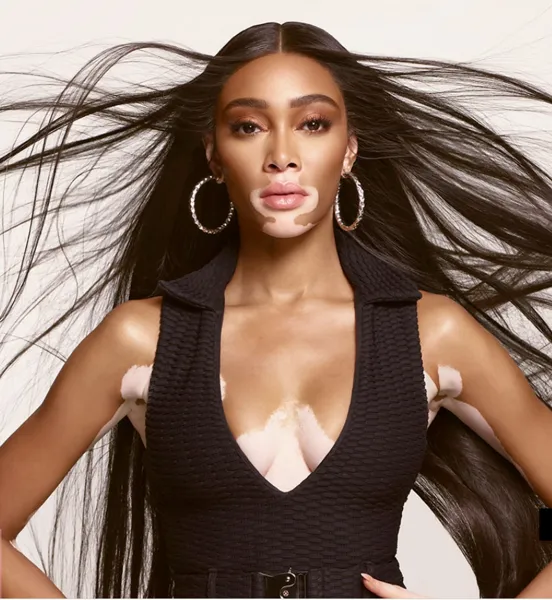
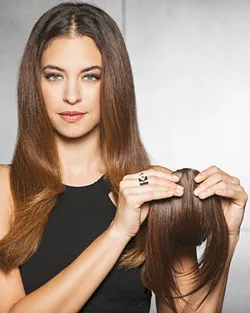
Hollywood stars like Gwyneth Paltrow have created a demand for super-straight sleek hair. What people tend to forget is that these “It” girls have celebrity stylists working for hours before any public appearance. Traditional flat irons are metal, while the newest flat irons are made of ceramic. What’s most important: Purchase an iron with a temperature control. Fine hair or color-treated hair needs to be pressed at lower temperatures, while the iron needs to be hotter to press coarse or curly hair. Make small partings no longer than the base of the flat iron itself and comb through to detangle. The smaller the partings, the cleaner and straighter each of your sections can be. Then, use a slow pulling motion to get a smoothing effect. Depending on your natural texture, you might want to combine a variety of products and techniques. If you have a lot of long, very curly hair which is also color-treated and very fine you may need to apply a liberal amount of thermal protector. Blow dry using a round brush. When hair is 100% dry flat iron starting at the bottom and work towards the base to get a sleek, very straight finish. With super-curly hair, it’s important to get as close to the scalp as possible, then pull the hair straight. A second, quick run through gives the super-sleek finish. Making Waves
Most people place a curling iron on the ends of their hair and roll it up. However, you need to do the exact opposite. The base needs the most heat and the ends need the least. With the traditional approach, you’re basically cooking your ends and not creating enough effect at the base. Place the iron about an inch from the scalp, do a half rotation toward the scalp then begin to feed the rest of the hair through the iron as you work down the hair shaft slowly. Use a constant motion of opening and closing the tong as you work down the shaft. Creating Designs In Your HairCrimping irons feature a flat plate that lets you press a design into the hair. Some let you change plates for more designs; newest ones even “emboss” stars and shapes into the hair. Crimping requires a pressing motion. Start at the scalp, do a press up and a lift down. It pays to practice until you can start and stop equally. Crimping lets you get really artistic and express your personality in myriad shapes from a waffle finish to a zigzag pattern. The downside is that wherever you crimp your hair, you create a weak area right at that point, so work quickly. Using curlers, crimpers and straighteners requires practice to get the look you want. If you’re unsure of what to do, ask your hairstylist for a lesson. Iron Clad Facts
If you’re ready for a “hot” new style, just remember these basics:
Remember with any hair care tool practice makes perfect. Social Media Network InformationPlease follow us on Twitter at: http://Twitter.com/HairBoutique. I look forward to meeting new people from all walks of Twitter and learning from their Tweets. Visit us at Hairboutique.com located at: http://www.HairBoutique.com, on Facebook, MySpace and YouTube. Please favorite us on Facebook. Thank you for visiting us at The HairBoutique Blog and for leaving your comments. They are very much appreciated. We apologize in advance but must remove any direct advertisements or solicitations. | ||||||||||
| If you want to talk more about this or other hair care articles on HairBoutique.com or anywhere else, please post a message on HairBoutique.com's Hair Talk Forums.
|
Please follow us on Twitter at: https://Twitter.com/HairBoutique. I look forward to meeting new people from all walks of Twitter and learning from their Tweets.

