


Wanna talk?
HairTalk® is the place for you!

Copyright 1997-2025, hairboutique.com, All Rights Reserved.

Introduction
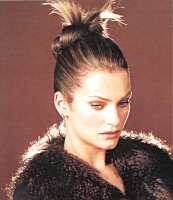
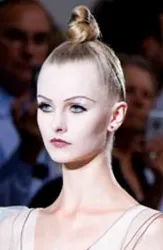
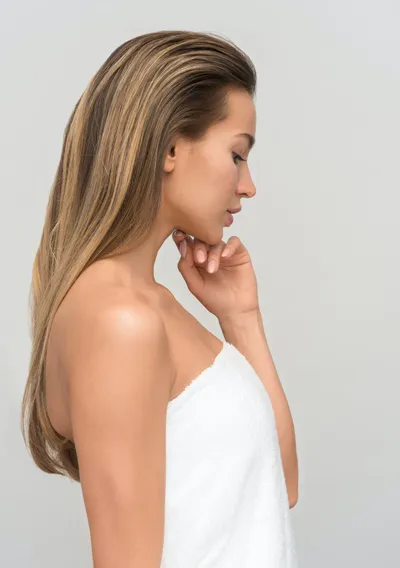
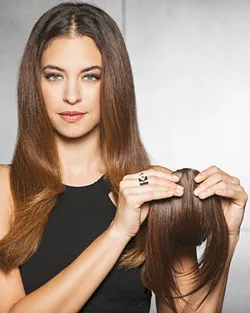
1997 saw the messy look hit the hair fashion world in a big way. Although the messy bun style has ebbed and flowed in popularity, messy hairstyles continue to be very popular in 2009. It appears to continue to be popular for 2010. In fact, at the Fashion Weeks in both New York and Los Angeles, twists and buns were seen all over the runways. The messier your hair, the better. I have tried several of the new "undone" and "slicked back" looks with my own tresses. I even slicked back my bangs to get a really pulled back look. Listed below are the detailed steps you need to take to recreate some of the different messy bun styles. The "Undone" BunAn important thing to remember is that you need to keep the bun as loose and messy as possible. You may have seen recent press photos of Alicia Silverstone (Batgirl) with a very messy braided bun with lots of little hairs sticking out. The loose hair pieces are part of the total look that equated with messy hair in 1998 and still equates with messy hair for 2007. The "Undone" Bun works best on hair that is shoulder length or longer. It will be harder to achieve the "Undone" Bun with shorter hair. The bun will work with either newly clean or unwashed hair. Your hair will need to be dry or mostly dry to create the looks. Step By Step Instructions
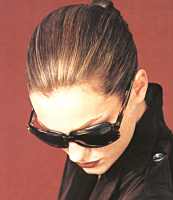
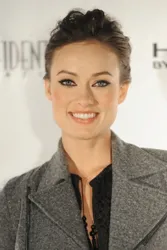
The "Slicked Back" Bun
This bun is a great look if you are in a big hurry or your hair is not squeaky clean. This is a look that Sharon Stone has worn in the past when she had longer hair. It creates a very cool, clean look. This hairstyle can be accomplished with shoulder length or longer strands. Ideal for any type of event from daily wear to business this style is so easy to create and maintain. It can be dressed up for evening. Unfortunately this bun will not work very well with shorter hair unless you first clip-in some hair extensions to provide desired length. Change up the total look by creating your own custom fringe, parts or by finishing with accessories.
SummaryWhichever bun you decide to try, just remember to have fun and be creative. When you are going for messy or unkempt, there are no right or wrong ways to style. Social Media Network InformationPlease follow me on Twitter at: http://Twitter.com/HairBoutique. I look forward to meeting new people Thank you for visiting us at The HairBoutique Blog and for leaving your comments. They are very much appreciated. We apologize in advance but must remove any direct advertisements or solicitations. Original Publication Date: 3/1998 - Revised Publication Date: 04/23/11 | ||||||||
| If you want to talk more about this or other hair care articles on HairBoutique.com or anywhere else, please post a message on HairBoutique.com's Hair Talk Forums.
|
Please follow us on Twitter at: https://Twitter.com/HairBoutique. I look forward to meeting new people from all walks of Twitter and learning from their Tweets.

