


Wanna talk?
HairTalk® is the place for you!
Copyright 1997-2025, hairboutique.com, All Rights Reserved.


I attended Paul Mitchell cosmetology school where I instantly discovered several things about this great company besides really great teachers, students and amazing hair care products.
Paul Mitchell really knows how to whip up stunning hairstyles that are exotic yet doable.
On a very regular basis they release some of their latest hairstyle creations which are never anything but stunning.
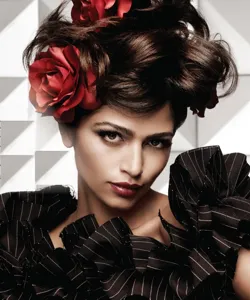
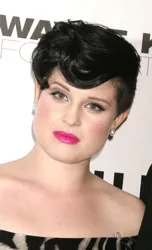
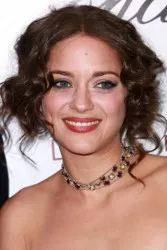
Take the case of their latest 2008 Holiday Hairstyle - The Bowtie Updo (shown to the left).
Yes, the hairstyle is built around a bowtie created from hair which sits right at the front of the hairline.
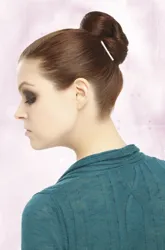
You may have seen hair bowties in the fast where the hair tie was near the back of the crown or as part of a mid-head chignon.
The 2008 Holiday Bowtie Updo is unique and daring. Can everyone wear it?
Of course you would have to have enough hair to create the bowtie section and the texture of the hair would need to be medium thick and straight. Which means some hair straightening time for anyone with natural waves or curls.

However, even if you have short hair you can supplement your tresses with clip-in extensions like the ones from HairUWear which are the individual POP pieces. The beauty of POP is that you can use as many of the different pieces of hair in each set.
Unless you're extremely talented with styling your own hair you may want to print out this photo and take it to your favorite hairdresser for recreation.
If you prefer you may wish to take it to your favorite Paul Mitchell salon since the style is designed around the fabulous Paul Mitchell products.
Yes, I do use some of the products which I got addicted to in cosmo school.
Steps For How To Create The Bowtie Updo
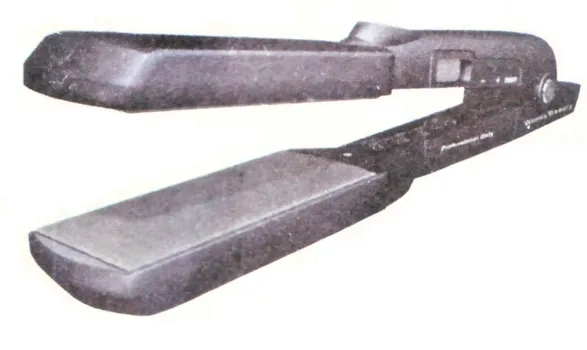
1. Work Paul Mitchell Sculpting Form through damp hair using the Paul Mitchell 413 Sculpting Brush.
2. Dry hair completely with an Express Ion Dry or similar hot tool.3. Part hair slightly off-center.
Note: This style may not work as easily for those with a front fringe or similar bangs.
4. Sweep up small vertical sections (approximately 2 inch sections) of hair beginning in the front on each side.
5. Cross sections at the part and fold the ends into a “bow shaped” design. Use the Express Ion Style 1.0 or similar hot curling iron to detail and curl ends as needed.6. Secure each finished section with a bobby pin.
7. Repeat the process until you run out of hair.8. Cover the center part with either colored tape or fabric of choice to create a multiple bow effect.
9. Finish with Paul Mitchell Hold Me Tight or similar firm holding hairspray.For extra pizazz wrap a high shine satin ribbon around the bow center section to make the bow pop so that it catches more attention. Pin the ribbon in place.
If you prefer you can also use a crystal encrusted ponytail cuff or similar design to give your hairstyle extra glam.
Remember to always apply any hairspray, holding products or shine serums BEFORE you apply any ribbons or other hair accessories.
Daring or dramatic eye make-up is optional. Don't forget to visit the HairBoutique.com Marketplace for your complete hairstyle needs. Wanna talk about creating other Holiday Hairdos? Follow us on Twitter or visit our HairTalk Forum.Please follow us on Twitter at: https://Twitter.com/HairBoutique. I look forward to meeting new people from all walks of Twitter and learning from their Tweets.

