Celebrity Hairdresser's Tips: Blow Drying Your Hair!
Introduction
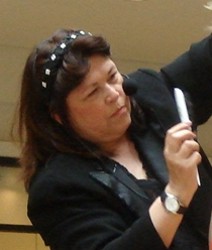
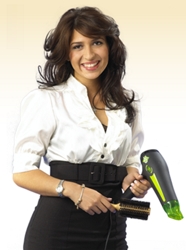
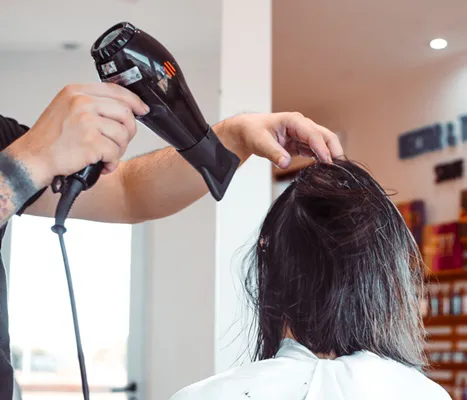
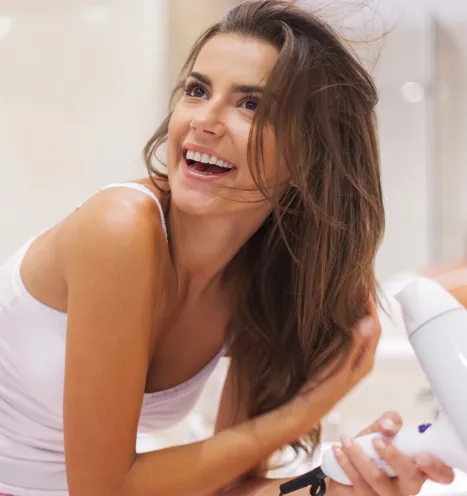
Although blow drying hair seems like it should be a simple undertaking, there can be a lot of hidden gotchas that result in home blowouts that are less than salon-perfect. Why? I asked three famous hair pros - Ken Paves (Hairdresser to Jessica Simpson, Eva Longoria), Robert Hallowell (Courteney Cox, Lucy Liu, Geena Davis, Mary Louise Parker, Jennifer Love Hewitt) and Paul Mitchell Premier Educator, Barbara Lhotan, (Hairdresser who has worked at NY Fashion Markets) to share their blow-drying secrets. I specifically asked each of the hair experts why blowouts, whether to create straight, curly or wavy styles, always seem to look so much better when done by a professional. Ken Paves who wears his famous red blow dryer literally slung like a gun from his belt explained that "the trick to perfect blowouts is using the right styling products and learning how to use the right-sized brushes in conjunction with the blow dryer for the desired results". Robert Hallowell commented that "there are lots of shortcuts he uses every day" because he works on the set of Commander In Chief in a cramped little hair and makeup trailer and that "perfect blowouts take lots of practice, which professionals have because they blow dry hair every day". Robert pointed out that it is "always easier to get great blowouts when someone else is doing them for you".
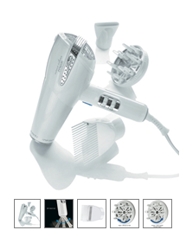
Barbara Lhotan laughed and confessed that "even she doesn't get her hair as stick straight or sleek as when it is done by a fellow stylist". The reason? There are several reasons and secrets about blow drying that Barbara (along with Ken and Robert) agreed to share in the steps below: 1. Proper Direction of Blow Dryer Air Flow.Barbara explained that to get that super sleek straight look the airflow from the blow dryer needs to be directed "down" the hair shaft from the roots until the ends. That may sound relatively simple but in reality, it means that you need to elevate the nozzle of the blow dryer above your head. Not only is this a challenging task for some short-armed people, but it can also be quite tiring to hold a blow dryer up above your head for an extended period of time. Barbara suggests sitting on a chair and holding the blow dryer over the top of your head and directing the airflow down the shaft does make it easier on the arms. Robert agreed that directing the airflow "down the hair shaft" is key. He explained that when he blow dries his celebrity clients on set he has them sit in a chair and he stands over them and blow-dries from the top down. Thus his arms take all the abuse. He also agrees that when people are blow drying at home, they should find a way to comfortably position the dryer over the head so that airflow will be directed down. 2. Learning Balance Between Blow Dryer & Styling Tools.
Another trick, according to Ken Paves, hairdresser to Jessica Simpson, "is learning to skillfully utilize a brush and a blow dryer at the same time". Many people have to practice using a brush in one hand and a dryer in the other in such a manner as to be able to successfully anchor the section of hair being dried with the brush while still directing airflow from the top down. Ken's secret? "Practice, practice, practice". Celebrity hairdresser, Robert Hallowell recommends the "divide and conquer" method. By dividing the hair into several manageable horizontal sections which are 2-4 inches in thickness, the rest of the hair can be "clipped out of the way" and there is less hair to worry about for the moment. This allows easier coordination between a brush and blow dryer because less hair is in play at any one time. Some hair experts recommend that you separate hair into only 3-4 major sections. Others recommend a lot of little sections that are only 2-4 inches in width. Barbara said that "ultimately it is best to work in a way that provides the best results for your hair type and texture and gives you the best control of your tools" That means that you should decide for yourself how many sections of hair to create. 3. Pro's Blow Drying TricksWhile it may seem that hairdressers can blow dry hair very quickly, the reason, Barbara explains "is because they blow dry hair every day for hours". Over time, they get very fast and efficient at using their blow dryers and can make even the most challenging hair behave.
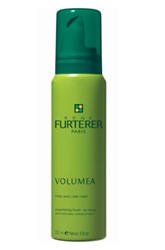
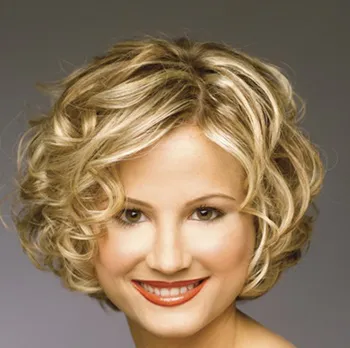
Consumers who blow-dry at home need to understand that a perfect blowout, whether for a straight, curly, or wavy look, takes time. Whether you're using a paddle brush to achieve stick straight hair or a long finger diffuser attachment to encourage curls and waves, Barbara advises that you go very slowly and focus on each individual section of hair before moving to the next one. Allow plenty of time to blow dry so that you create your dream style. Speed blow drying can cause frizz and other issues to pop up. 4. Prep Tresses By Texture TypeBarbara noted that "the products you use on your hair before you blow-dry can make all the difference in the results". A major consideration for selecting the proper products is the type, texture, and condition of your hair. Ken and Robert agreed. Listed below is a general overview of hair textures and recommended blow-drying products. Fine and thin strands do better with lighter products such as mousse or gel mousse combinations. Medium textured hair can behave well with lighter products such as mousse or gel mousse as well as with regular gel, glaze, liquids, and creams. Thickly textured hair needs heavier products such as extra strength mousse, gel, creams or wax. 5. Select Best Styling Products
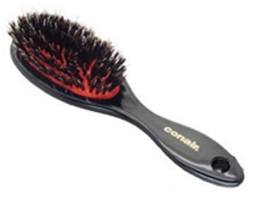
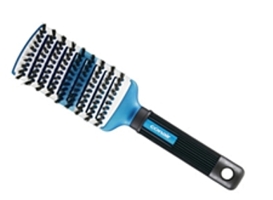
Additionally, the three experts made recommendations according to desired blow-out texture (straight, curly, wavy). For stick straight blowouts, utilize temporary straightening products such as straightening creams, gels, balms, glaze, or other liquids. Enhance curls with products designed to give them body and definition. Encourage Natural Waves with Mousse, gel/mousse, and gel products. Keep in mind that the fewer styling products that you use, the softer the set. All three experts suggest that you use a heat protectant product if the hair is prone to damage. 6. Utilizing The Proper Brush & AttachmentsKen, Robert, and Barbara agreed that hair consumers should "always use the highest quality brush possible". Since hair is most fragile when wet, extra care should be taken when styling wet or damp strands. When possible, use a natural boar's bristle brush or similar. Remember that a paddle brush is for blow drying straight styles while a round brush is for encouraging bend, volume, and texture. Vary the size of the brush "head" according to how much hair you are working with and how loose or tight you want the look or texture. When the goal is to blow dry straight, Robert Hallowell recommends using "a good quality boar's bristle paddle-style brush because it covers the most hair territory at one time and cuts down in drying time". When using a paddle brush, Robert finds that he can work with "bigger individual sections" which helps him finish quickly. Barbara suggests that you utilize an air concentrator when going for a stick straight effect or a long finger diffuser to enhance waves or loosen curls.
A hot sock attachment will also work wonders on some types of curls. 7. Use Fingers With CareWhile some hair types and textures respond well to "finger combing" or "scrunching" other textures will frizz. If your hair is prone to frizz, keep your fingers out of your hair until it is 100% dry. Barbara who specializes in curly hair made a point to mention that naturally curly strands should be "touched as little as possible by the hands and fingers" when diffusing or drying. 8. Correct Dampness BalanceSome types of hair will dry faster than others. Barbara indicated that "curly hair dries the faster due to the structure of the hair, which is always partially open". Wavy hair dries quickly, although not as quickly as curly hair. Straight hair, especially when medium to thick, will dry the slowest. Barbara confided that "the key to a perfectly balanced blowout requires hair that is equally moist from side to side". Therefore, as you are working on one side of the head, if the other side dries in the process, remoisten it. She suggests that you "use a spritz bottle to slightly add back moisture and then blow-dry". Barbara confided that "one of the other big mistakes that hair consumers make is trying to blow dry hair" that is "too wet or still dripping". Not only will any styling products "drip right off" the hair will be much harder to handle. Another mistake is continuing to direct heat to a section that is already 100% dry. 9. Alternate Hot Air With Cold - Finish With Cold Shot BlastBarbara pointed out that the heat from the blow dryer "opens the cuticle and allows a style to be formed". Finishing a section with a blast of cool/cold air from the blow dryer will help to close the newly created texture or lock in the straightness of the section. Start with hot and finish with cold on every section to first build in the desired style and then lock in the set.
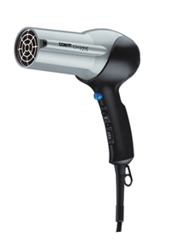
Barbara did point out that the key to a great blowout is making sure hair is 100% dry, although of course, you should not blow dry past that point. How to tell if warm hair, from the blow dryer, is actually 100% dry? Barbara suggested doing what she does. She finishes a section of hair with a cool shot or cold air setting. Then she tests with her fingers. If you don't have a hairdryer with a cool/cold shot, consider investing in one. Additional Dos & Don'tsBarbara, Ken, and Robert had other dos and don't to consider when doing your own blowout at home: 1. Forget Shaking The Blow DryerOne mistake that Barbara sees many consumers make is that they feel the need to "shake their blow dryers back and forth". This really doesn't have any benefit at all to the hair. She explained that because consumers "worry about overheating individual sections" they tend to wave the nozzle back and forth. The way to avoid overheating is not to shake the nozzle but to use a medium heat setting, hold the nozzle at least 6 inches away from the head, and not direct the airflow at any one section more than a few seconds at a time. 2. Avoid Over Blowing Your HairRobert warns against using a blow dryer that is either too hot or used at full speed. He points out that "too much airflow" or "too much heat" may over-blow the style and remove natural curls and/or waves if you are blow-drying to encourage texture. When blow-drying straight, too much heat can dry out the strands and cause them to lose that silky finish that the pros build into their salon blowouts. 3. Limit Everyday Blow Drying
All three experts strongly recommend going easy on the use of a blow dryer. Ken Paves goes so far as to recommend blow-drying "only for special events". Barbara Lhotan agrees that the hair does better when it has a break between blow-drying sessions. Robert Hallowell agrees that if you treat your hair with lots of tender loving care, you can get away with frequent blow-drying sessions, but he also believes that giving hair a rest from the heat is "always a good thing". 4. Blow Dry From Back To FrontBarbara recommends that you start "on the back of the head and work around towards the front". This gives you a chance to first deal with the part of the head where wrinkles or creases may form more easily. She also recommends working "from the ends up to the roots for better volume enhancement". 5. Tackle Hardest Part Of Hair FirstRobert recommends that consumers tackle the most difficult sections of their hair first, whatever section that might be for them. Therefore, if the front tends to wave or curl or develop odd drying patterns, those areas should be dried first. 6. To Flip Or Not To Flip?Many hair experts recommend that you bend over at the waist and blow-dry with your strands flipped upside down. Robert does not agree with this method and prefers to dry with the hair in its normal position. He points out that when you "blow dry upside down, you encourage the natural cuticles to lay the wrong direction. This can cause tangling and make hair more difficult to control." Barbara and Ken Paves concur. They both prefer to dry the strands of their clients without having them flip their tresses over. Barbara "never ever flips hair over".
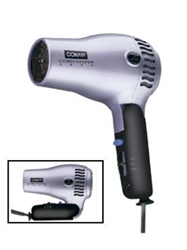
Since opinions are mixed on whether to flip the hair over or not, use your own judgment based on the results that you achieve. 7. Avoid Clips Which Cause WrinklesWhen Robert blow-dries his celebrity clients, he makes sure that if he is using any type of metal or salon clip to hold the finished section into a curled shape, he places a piece of tissue paper between the curl and the clip. This prevents the formation of any ridges in the newly blown-out strands. Both Ken and Barbara agree with this trick. 8. Skip The Professional Style Blow DryersBarbara pointed out that many consumers assume that they should only blow dry their hair with the industrial-strength blow dryers that the professionals use. While professional hairdressers need super powerful motors on their dryers, it is because they blow dry so many clients every day. For consumers, Barbara pointed out that a professional style dryer is overkill and can actually apply too much heat on delicate strands if careful moderation is not performed. Summary
Like everything else in the hair world, blow-drying your style at home so that you achieve perfectly sleek straight tresses, carefully scrunched waves or beautifully looped ringlets involves utilizing the right tools, a few good secrets from the pros, and lots of practice. So what are you waiting for? Start your engines. Social Media Network InformationPlease follow me on Twitter at: http://Twitter.com/HairBoutique. I look forward to meeting new people Visit us at Hairboutique.com located at: http://www.HairBoutique.com, on Facebook, MySpace, and YouTube. Thank you for visiting us at The HairBoutique Blog and for leaving your comments. They are very much appreciated. We apologize in advance but must remove any direct advertisements or solicitations. - Revised Publication Date: 09/26/11 |
||||||||||||||||||||||||||||||
|
If you want to talk more about this or other hair care articles on HairBoutique.com or anywhere else, please post a message on HairBoutique.com's Hair Talk Forums.
|
Social Media Network Information
Please follow us on Twitter at: https://Twitter.com/HairBoutique. I look forward to meeting new people from all walks of Twitter and learning from their Tweets.


