


Wanna talk?
HairTalk® is the place for you!
Copyright 1997-2024, hairboutique.com, All Rights Reserved.

Introduction
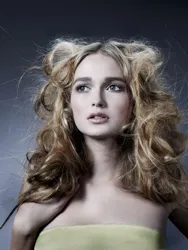
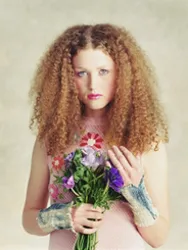
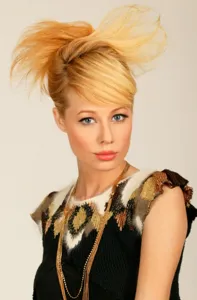
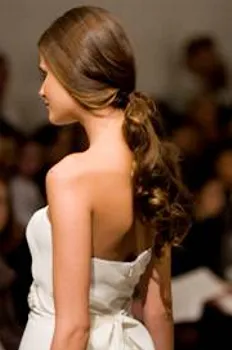
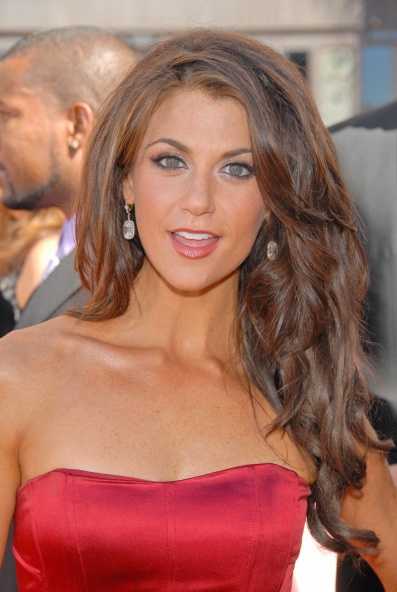
Pin curls are one of the basic sets that hairdressers learn and can be used to create a range of curls on all hair lengths from short to super long. In order to successfully create pin curls you must have enough hair to be able to wrap the hair at least one revolution and enough hair to hold the salon clips. Pin curls can be done randomly without any set pattern but the results will be chaotic as well. For a very finished set it is important to design a carefully constructed pattern, use uniform sections of hair in each pin curl and wraps the curls in multi-directions. This article provides the detailed step by step instructions for creating old fashioned pin curls that are applied to the entire head utilizing the forward and reverse clockwise and counterclockwise curl systems. Pin Curl DisclaimersAlthough some hairdressers will advise making pin curls on dry hair that is misted with water and then set, for a really deep and long lasting set traditional pin curls should be created on newly washed hair. The secret to great pin curls is working with hair that is not too wet or too dry, uniform size and shaped pin curls created on hair in carefully planned patterns. While pin curls can theoretically be created on any length, type or texture of hair, in reality this is not exactly true. If hair is too short to wrap into a tight enough circles, the results will not be as good as when wrapped at least one full circle. When hair is too long or too thick, the pin curls may also not work as well because there would be too much hair in each curl. For long or super long strands, rag rollers would be a better bet. Note: For rag curling details check out Curling Your Hair: Pin Curls & Rag Curls Made Easy Another tidbit of noteworthy information is that celebrity hairdressers who use pin curls on their clients will still use curling irons to reform finished sets that do not have perfect curls. Also important is the fact that with the popularity of wigs and half wigs, many celebrity stylists will do a wet pin curl set on wigs and add-on hair before applying to their celebrity client's head. First Steps For Creating Pin CurlsAlthough some hairdressers will advise making pin curls on dry hair that is misted with water and then set, for a really deep and long lasting set traditional pin curls should be created on newly washed hair.
1. Shampoo hair in lukewarm water with products designed to address your current hair type, texture and condition.For colored or chemically treated hair use products to protect and maintain. If you tresses are damaged consider diluting the shampoo or doing a conditioning only cleansing.2. If appropriate utilize rinse out conditioners. Follow with a cool/cold water rinse. 3. Towel blot hair to remove excess moisture. 4. Apply a firm holding mousse or create a styling product cocktail that addresses your hair's needs. If you have dry strands or tresses that are prone to frizz, add a good defrisant like Phytodefrisant to your mix. 5. Create a wet pin curl set. Start by carefully separating your hair into equal sections approximately 1" in size. Depending on your type or texture of hair, use the appropriate amount of styling products as you work on each section of hair to make sure that the finished set is not too soft and will hold the curls tightly. Creating Pin Curls
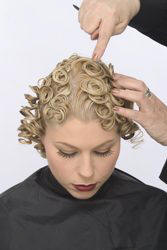
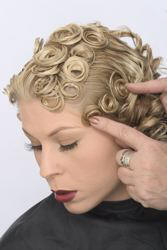
To achieve the same uniformity of curl on both sides of the head, the technique used to form a curl on the right side of the head must be mechanically different from that used on the left side. This is because you use the same hand to form curls on both sides of the head. If you are right-handed, you always use your right hand, If you are left-handed you use your left hand. The procedures described in the following sections are for right-handed people. If you are left-handed, you should use the procedure given for the right side of the head on the left side and vice versa. Counterclockwise curls are formed away from your body position, whereas clockwise curls are formed toward your body position. Steps For Creating A Forward Counterclockwise Curl
Steps For Creating A Forward Clockwise Curl
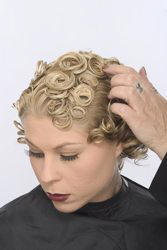
Steps For Creating A Reverse Counterclockwise Curl
Steps For Creating A Reverse Clockwise Curl
Styling Steps After Removing Pin Curls
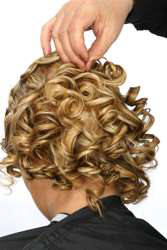
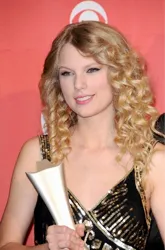
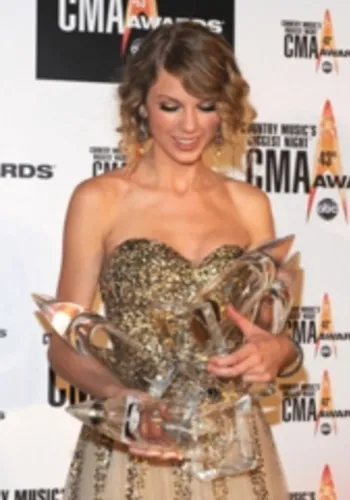
1. After you have carefully created the pin curls, let them dry naturally in the air or sit under a hood style dryer until the curls are completely dry. If you have plenty of time, let the curls set overnight for a much tighter set. Pin curls are easier to sleep in compared to brush or large style rollers. If you're in a hurry and can't wait several hours or overnight for your pin curls to air-dry then use a blow dryer on a slow speed, medium heat with a diffuser attachment to dry but curls but avoid over blowing them. 2. Once your strands are completely dry, remove the clips and use fingers to gently pull, fluff and arrange the curls into the desired finger wave pattern. For more volume or a bigger hair look, use a boar's head bristle brush (like Mason Pearson, Kent or similar) to gently brush out the curls in a uniform direction. Use your fingers to help pull out and direct the curls. 3. If you prefer a more finished look, sculpt the sides with a comb. Keep in mind that the more you handle the curls, the softer and looser they will become. If the curls become too loose, touch them up with a hot curling iron. 4. Apply a drop or two of a shine serum like Phyto's PhyoLisse, Rene Furterer's Spray Gloss or Robert Hallowell's Love That Shine Drops to the palms of your hands. 5. Attach any desired hair accessory to the finished style. Because this is such a glamorous style, if accessories are added, they should be small to avoid detracting from the incredible beauty of this classic pin curled style. Note: Remember to always attach accessories last after all styling products have been applied to avoid damaging delicate accessories. 6. Finish with a good application of hairspray for long term hold. Ones to try: Rene Furterer Instant Hold Finishing Spray, Robert Hallowell's Rawhold Hairspray SummaryPin curls are one of the basic sets that hairdressers learn and can be used to create a range of curls on all hair lengths from short to super long. For a very finished set it is important to design a carefully constructed pattern, use uniform sections of hair in each pin curl and wraps the curls in multi-directions. | |||||||||||||||
| Send this page to a friend.. | |||||||||||||||
| If you want to talk more about this or other hair care articles on HairBoutique.com or anywhere else, please post a message on HairBoutique.com's Hair Talk Forums.
|
Please follow us on Twitter at: https://Twitter.com/HairBoutique. I look forward to meeting new people from all walks of Twitter and learning from their Tweets.

