 Make a heart-stopping entrance at your Prom, wedding or any special event wearing this dressy, elegant
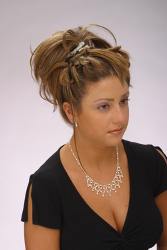
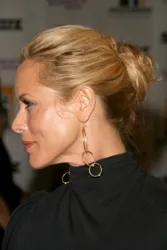
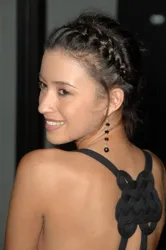
 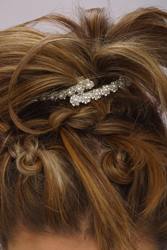 This style is comprised of one main ponytail-based-bun positioned at the crown of the head with long flowing hair strands anchoring the look. The front of the style is accented with a series of hair loops and knots that emerge from the front of the hairline and border the back ponytail bun.
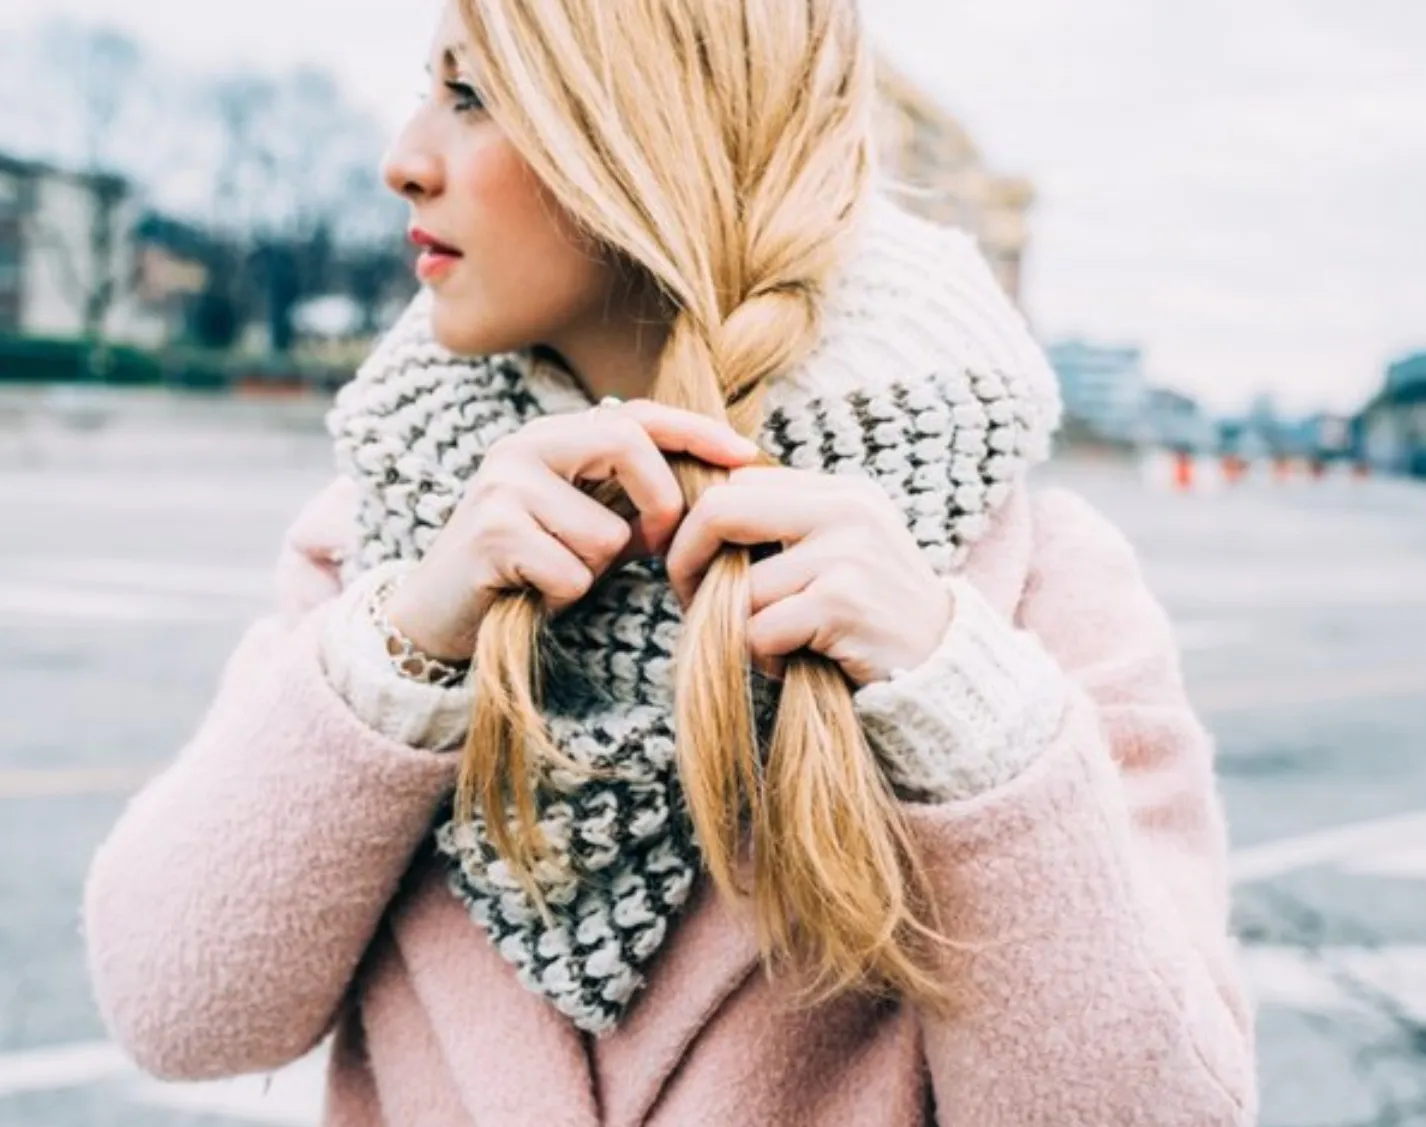
 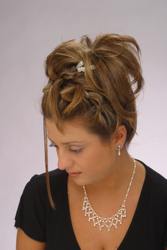 Hair that is extra long can adopt to the style by adjusting the size of the back curls. Longer hair can also opt to leave a section of hair length as a type of "tail" and modify the look so that it is a half up/half down style with long lengths flowing down the back.
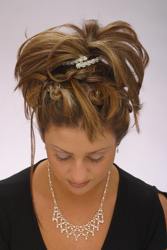 This style works best on hair that is not freshly washed. When possible allow your hair to "age" at least 24 hours from your last shampoo. The natural hair oils will help the knots and parts hold tighter and last longer.
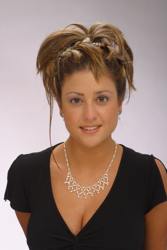 Although this elegant style was designed without bangs or a part, if you prefer, experiment with a different type of part for a slightly different look. Wear bangs if you prefer and experiment with how you brush them on your forehead.
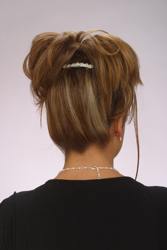 4. Use a rattail comb, pick or other hair tool to carefully pull 6-12 sections of 1/2" thick individual strands of hair from the ponytail along the face line. Pin the individual strands to the side to keep out of the way of the rest of the hair.
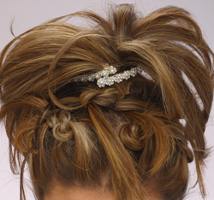 6. Smooth the ponytail back down and take the hair in the tail and backcomb it slightly to give it lift and fullness. Carefully "fan the hair out" around the base of the ponytail and the entire surrounding area. Starting on the end hair of the ponytail, carefully work from one side of the new hair fan to the other and pin the strands to form a soft floppy bun all around the base of the ponytail.
 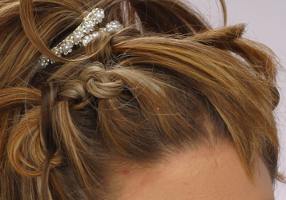 12. As an option, take one or more "tails" from the front knotted hair and softly drape it up towards the hairline so that the ends are softly peeking over the hairline. Pin it into place. (See close-up of knots & hair "tail" in the image above).
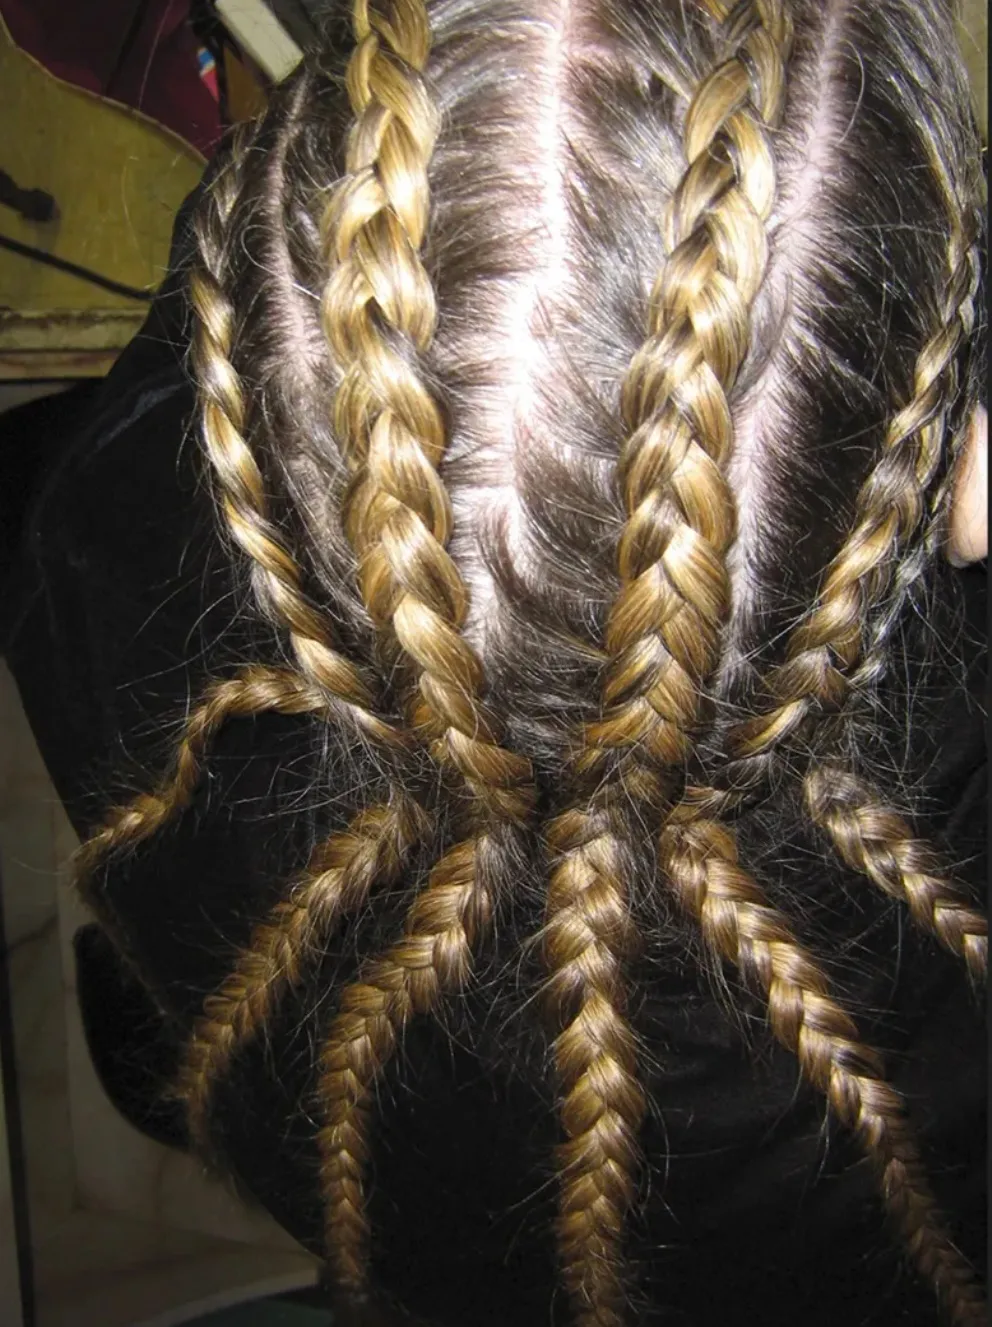
 Experiment with adding more or less sections of hair for different looks. For a different look try braiding the hairline sections or making knots with pre-braided locks. (Photos courtesy of


Wanna talk?
HairTalk® is the place for you!
Copyright 1997-2024, hairboutique.com, All Rights Reserved.

Introduction
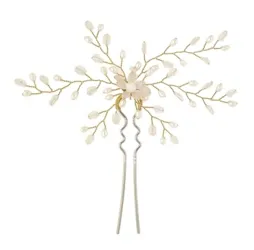
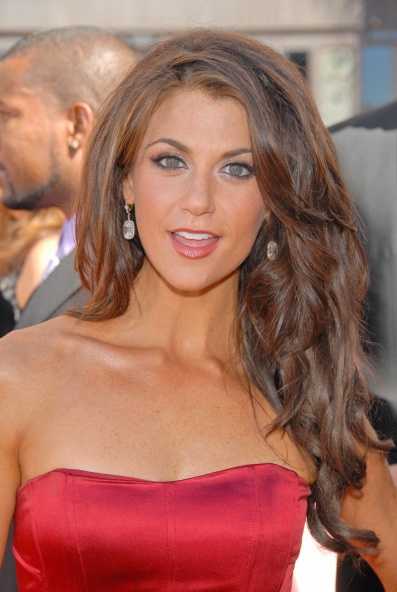
Decorated with gorgeous pearl encrusted barrettes that peek out of the back hair and add sparkle to the crown ponytail pieces, this updo is stunning from all angles. This unusual do was created on our beautiful Model by stylist Barbara Lhotan for HairBoutique.com and photographed by the award winning fashion photographer Eric Von Lockhart. The shoot was a joint partnership with our media partner - Multi Media International.
This style may or may not be too complicated for someone to create at home. You might take the style on a trial run in the privacy of your home and see if you can duplicate the style. If not, don't hesitate to call on your professional stylist or a friend that has hairstyling talents. This style generally works best on hair that is shoulder length or longer with medium thickness. It can work on hair that is fine or thin with the addition of hair pieces or extensions.
Let your stylist guide you about the appropriateness of the style for your hair type and texture. Although this design can work on any hair texture, straight hair or hair that has been temporarily pre-straightened is ideal. Wavy hair may or may need to be straightened depending on whether you want to keep the ends wavy or straight. Please note that super fine or thin hair may not hold the curls and loops as easily as coarse hair textures. If you wish to try this look on fine hair, be prepared for hair slippage with gel, strong holding spray and extra bobby pins. Step By Step Instructions
Barbara Lhotan did comment that this look can be created on freshly washed and dried hair. However, it is important to dress newly washed hair with the appropriate styling aides to counterbalance extra soft or slippery strands. Let your stylist determine what type of hair they prefer to work with. 1. Begin by using a soft boar's head brush or similar natural bristle brush on your hair. Make sure that all knots and tangles are completely removed. (All photos are the express copyright of HairBoutique.com & Multi Media International).
2. Working with individual sections that are about 1-2" in thickness, smooth all of the hair with a hot flat iron. Allow hair to cool completely before proceeding. 3. Using a soft boar's head brush or similar natural bristle brush brush all the hair from the hairline into a high ponytail that rests at the center of your crown. Secure the ponytail with Blax, bungee cords or other "hair friendly" elastics the same color as your hair.
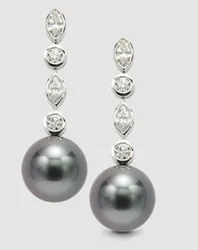
5. Lift the ponytail straight up in the air and smooth the hair making sure the ponytail is tightly gathered at the base. Attach one of the pearl barrettes as shown in the photo to the side so that it rests underneath the base of the ponytail. Note: Apply a light gel or setting lotion to each section for hair that is fine, slippery or does not hold styles well. This will help to anchor the hair better. Remember to apply any gel or setting sprays before adding hair accessories.
Note: Although I recommend hairpins that are 1 1/2". You can experiment with pins that are larger. I have not been able to find pins any smaller than 1 1/2". Be creative and pull random strands out to hand loose and free around the bun sculpture.
8. Take the strands from the front of the hairline and loop them once or more to form tight knots. Position the individual strands so that the "tail" of the strand ends near the base of the ponytail. Pin the knots and the tails into place to form a looped and knotted design near the hairline. Leave a few tendrils to flow free around the face.
13. Take any of the remaining "hair tails" and softly twist and loop them and pin to "finish" the look. Pin into place with tiny hairpins. Apply a medium to heavy holding spray to the finished style. Add a light sprinkling of glitter gel for added dazzle or jazz up the sides or back or the style. Feel free to use tiny bobby pins to help anchor any loose hair.
The possibilities are endless if you take the time to play with different variations of this sizzling messy buy style. This finished style if perfect for any special party, Prom, Wedding or other dressy hair event. Enjoy! CreditsHairstyles by Barbara Lhotan Make-up by Catherine Raffaele Hair accessory jewelry provided by HairBoutique.com Photography by Eric von Lockhart Copyright 2002-2003 All rights reserved HairBoutique.com & MultiMedia International. Barbara Lhotan is known as the "Personal Trainer" for stylists wishing to be experts with long hair. She is the Director of Education for Renaissance Salon in Smithtown, New York and a Senior National Educator for John Paul Mitchell Systems. Barbara works on all types of hair from short to long and creates spectacular updos and styles for any event. She is also talented with hair extensions and color. Contact Barbara for a consultation at: (631-724-2386) Eric von Lockhart was born in New York City but spent his early years traveling to exotic locales as a military brat. Sensing from an early age that “some form of art was his destiny”, Eric embraced his early gypsy life. He viewed his constant travels as priceless opportunities to observe life through many angles, ultimately training him to do the same with his beloved cameras. Eric has been perfecting his craft “all his life” which explains why he is one of the most sought after fashion photographers in America. Over the years Eric’s unique eye, lightening wizardy and brilliant photographic images have been in hot demand appearing in an extensive list of fashion and beauty magazines including Vogue, Women’s Wear Daily, Elle, Essence, Salon News, Modern Salon, Hype Hair, Inspire, Passion, Blacktress, Hair World, 101 Celebrity Hairstyles, Short Cuts, and HairBoutique.com. |
| If you want to talk more about this or other hair care articles on HairBoutique.com or anywhere else, please post a message on HairBoutique.com's Hair Talk Forums.
|
Please follow us on Twitter at: https://Twitter.com/HairBoutique. I look forward to meeting new people from all walks of Twitter and learning from their Tweets.

