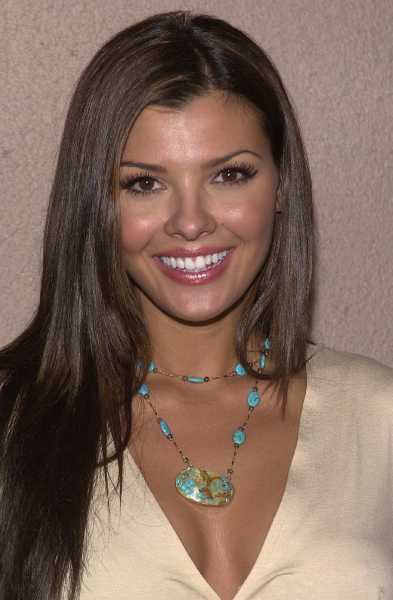
Introduction 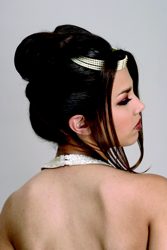 Every major star from Aubrey Hepburn to Jennifer Lopez have worn a version of this basic hairstyle. Rachel Lee Cook as I in the film, She's All That as the cute, quirky, but brainy Laney Boggs worn a type of French Twist style. The beauty of the basic French Twist is that it can be easily modified in hundreds of ways to give it an edgy sizzling look that works with up to the minute fashions and styles. Every major star from Aubrey Hepburn to Jennifer Lopez have worn a version of this basic hairstyle. Rachel Lee Cook as I in the film, She's All That as the cute, quirky, but brainy Laney Boggs worn a type of French Twist style. The beauty of the basic French Twist is that it can be easily modified in hundreds of ways to give it an edgy sizzling look that works with up to the minute fashions and styles.
A French Twist can be fashioned from just about any length of hair or type of texture. Even super short tressed young ladies can be French Twisted with a little help from pin on ponytails or instant add-on hair extensions. The style shown above, courtesy of Inspire Publications, was based on a French Twist pattern created by stylist Barbara Lhotan. Although it may be hard to believe that this radical style is based on a French Twist, it was started that way with a classic back seam. The top of this particular French Twist style was fanned and pinned to create the top knot. A pearl tiara was looped around the underneath section of the top knot. Long strands were draped seductively around the face. French Twist Instructions  Some people have a natural ability to create buns, updos or French Twists on their own hair without any assistance. I personally have all thumbs when it comes to my own hair. If I have enough time to practice a style several times, I am usually able to learn some styling tricks that help me create the ultimate style. However, I do need lots of practice. Some people have a natural ability to create buns, updos or French Twists on their own hair without any assistance. I personally have all thumbs when it comes to my own hair. If I have enough time to practice a style several times, I am usually able to learn some styling tricks that help me create the ultimate style. However, I do need lots of practice.
One of my all time secret tricks is to use my string mop head to practice the style first. A long time ago I learned that a string mop made a good practice head for hairstyles. Why? The individual strings from the mop work a lot like individual strands.  If you don't have a string mop handy you can also practice on a doll's head, wigs or even clip on braids or ponies that you anchor to the back of a chair to secure. If you don't have a string mop handy you can also practice on a doll's head, wigs or even clip on braids or ponies that you anchor to the back of a chair to secure.
If you are all thumbs when it comes to your hair ask a talented friend or your favorite stylist to help you achieve this style. Listed below are the steps that you would need to do to create a basic and very structured French Twist hairstyle: - Before you start make sure that you have all the proper tools including plenty of hairpins, a good brush and comb. If you will add hair accessories but sure you have them ready to be added to the style at the end.
- Create this style on hair that is not freshly washed since it would be too slippery to stay securely pinned. If you wish to shampoo your hair before creating the style, apply a good styling product to give your hair texture and hold. Check out celebrity stylist Robert Hallowell's Dream Cream product. It is perfect for dressing hair for updo styles.
- Use a boar's head or similar type of high quality styling tool to brush all hair smoothly back from the forehead. Celebrity stylist Ken Paves has often told me that you can't brush too much to get a super smooth finish.
- Use your hands to smooth and gather your hair into a tight ponytail with a base halfway between your crown and nape and slightly to the left of center. Make sure that the pony section is very smooth. Once you have it in place hold it with your hands but do not pin or anchor it.
- Holding the entire ponytail twist it all the way around twice, in a clockwise direction. This twisting action will hold the base of your hair closer to your head and give you a tight base to work against.
- Hold the base of the ponytail in your left hand. With your right, hold its end up, pointing directly up towards the ceiling.
- With your right hand, gently fold the end of the ponytail, about the top third, down towards the nape of your neck.
- Fold the entire ponytail down under itself, towards your nape so that is it less than half as long as it was.
- Curl the folded ponytail in your left hand. There should be a slight hollow between the ponytail and your scalp.
- With your right hand, begin to gently push the upper right hand portion of the folded ponytail down into the hollow.
- Continue pushing the hair underneath your left hand into the hollow so that the folded ponytail is slowly rolling inside the hollow.
- The twist is complete when you can't push any additional hair into the hollow and the folded ponytail has become a tight roll.
- Create a seam by tucking in bobby pins that are the same color as your natural hair along the line formed where the right hand edge of the roll meets your scalp starting at the bottom.
- Place bobby pins all along the seam up to the top of the roll, concealing them just under the roll.
- Begin to push the upper portion of the ponytail over into the space with the other hand, so that the folded part is slowly rolling over into it.
- When you have pushed all the hair in, secure with hairpins along the seam formed by the join, starting at the bottom. Conceal the hairpins by pushing them right underneath the roll.
Informal French Twist This French Twist is less formal or structured and can be created when you want to skip the creation of the pinned hair seam as described above. - Use a high quality styling tool to brush all hair smoothly back from the forehead. Celebrity stylist Ken Paves has often told me that you can't brush too much to get a super smooth finish.
- Gather hair into a tight ponytail near the top of the crown or your head.
- Holding the entire ponytail in your hands (don't pin it at this point) twist it all the way around twice, in a clockwise direction. This twisting action will hold the base of your hair closer to your head and give you a tighter base to work against.
- Hold the base of the ponytail in your left hand. With your right, hold its end up, pointing directly up towards the ceiling. Resume twisting in a clockwise position until the entire ponytail is completely twisted from the crown of your head to the tips of the tail.
- Place a finger at the bottom section of your head right above the nape of your neck. Take the newly twisted tail and fold the tail over forming a big loop with the tail folding under at your finger. The bottom of the tail should be folded under at the bottom of the loop area.
- Place fingertips over the top of the newly formed loop and along the sides of the twist to smooth and secure. When you are finished smoothing you will have a rough hair roll that looks like a very messy French Twist.
- Close your hands over the newly formed hair roll and gently nudge the hair to the right in a rolling motion. As you roll the hair use your hands to tuck all loose strands into the evolving twist. Smooth the twist so that the shape is symmetrical and all loose hairs are neatly contained.
- Use hair pins to anchor the new French Twist from top to bottom. Use hair pins the same color as your hair to blend into the twist.
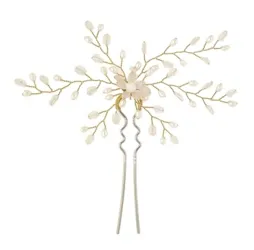
Once the twist is pinned and firmly anchored, spray well with hair spray. Make sure all loose hairs have been carefully pinned or tucked. Slide a gorgeous French Twist comb along the side of the new twist. Or decorate with hair forks, French hair pins or other accessories. French Twist Variations 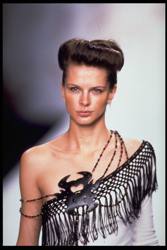 There are literally a ton of ways to customize a French Twist style to make it totally unique to you and your hair. Some customization ideas include: There are literally a ton of ways to customize a French Twist style to make it totally unique to you and your hair. Some customization ideas include:
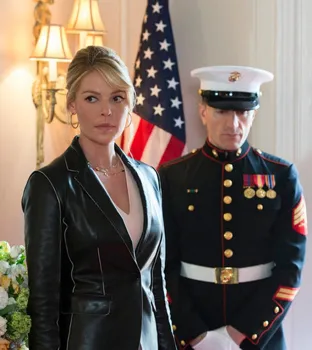
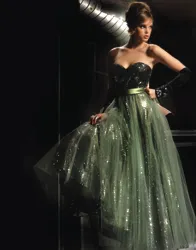
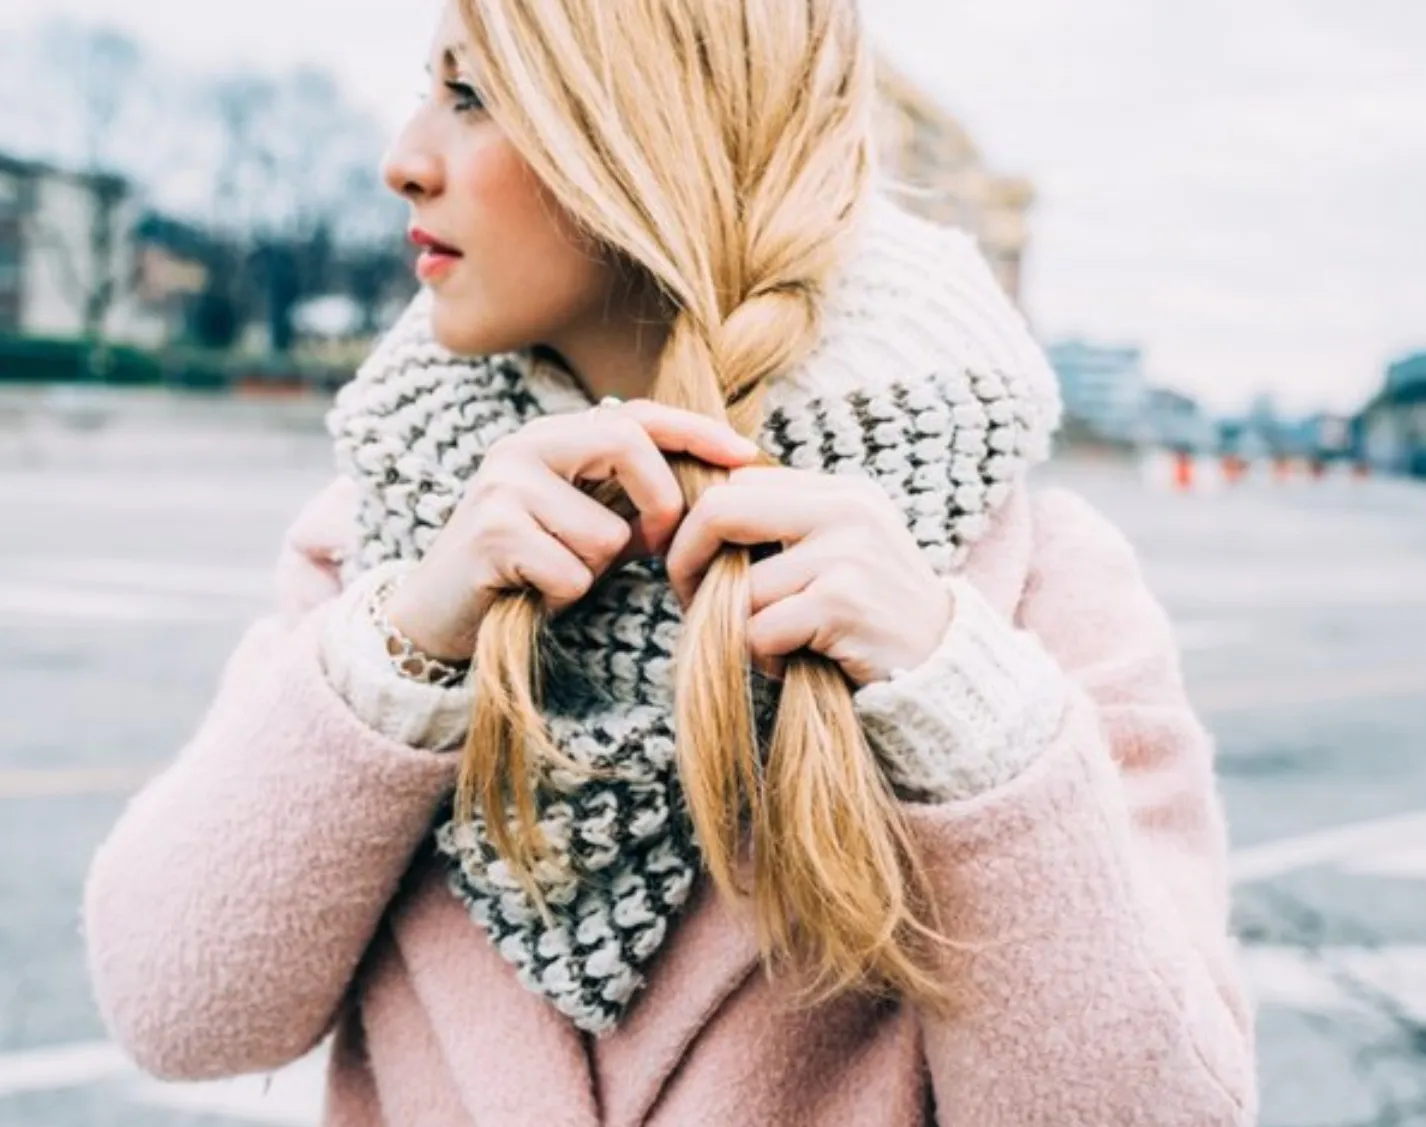
1. Mix and match funky with formal. Do a series of short zig zag parts in the front of your hair near your face. Pull the hair from the zig zags back towards the crown and then weave the top sections one braid that snuggles coiled into the top of the traditional French seam at the back. 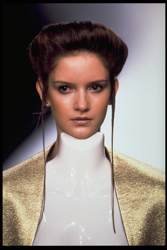 2. Create a classic French Twist in the back but put the front of your hair into a roll that wraps around the top line of your forehead. This is a striking look that will catch immediate attention. (Image to the side courtesy of Clairol - all rights reserved). 2. Create a classic French Twist in the back but put the front of your hair into a roll that wraps around the top line of your forehead. This is a striking look that will catch immediate attention. (Image to the side courtesy of Clairol - all rights reserved).
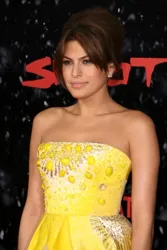
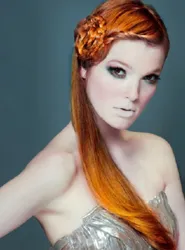
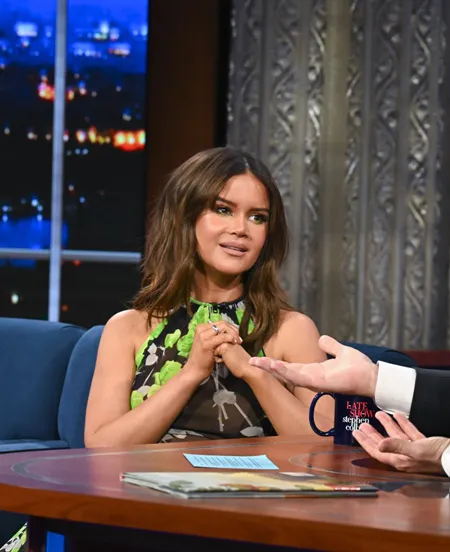
3. Design a style that matches the Twist with a front hair roll, like mentioned in Step 2. Pull strands out on either side of your face (as shown to the side) and let the strands hang straight down to the top of your dress. Pull similar strands out from the underneath side of the French Twist. 4. Skip the front roll and go with a quiff at the front of the crown instead. 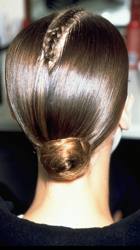 5 Create a classic back Twist but separate the very top and very bottom strands that border the twisted hair. 5 Create a classic back Twist but separate the very top and very bottom strands that border the twisted hair.
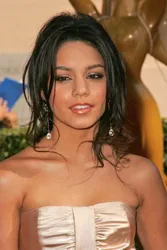
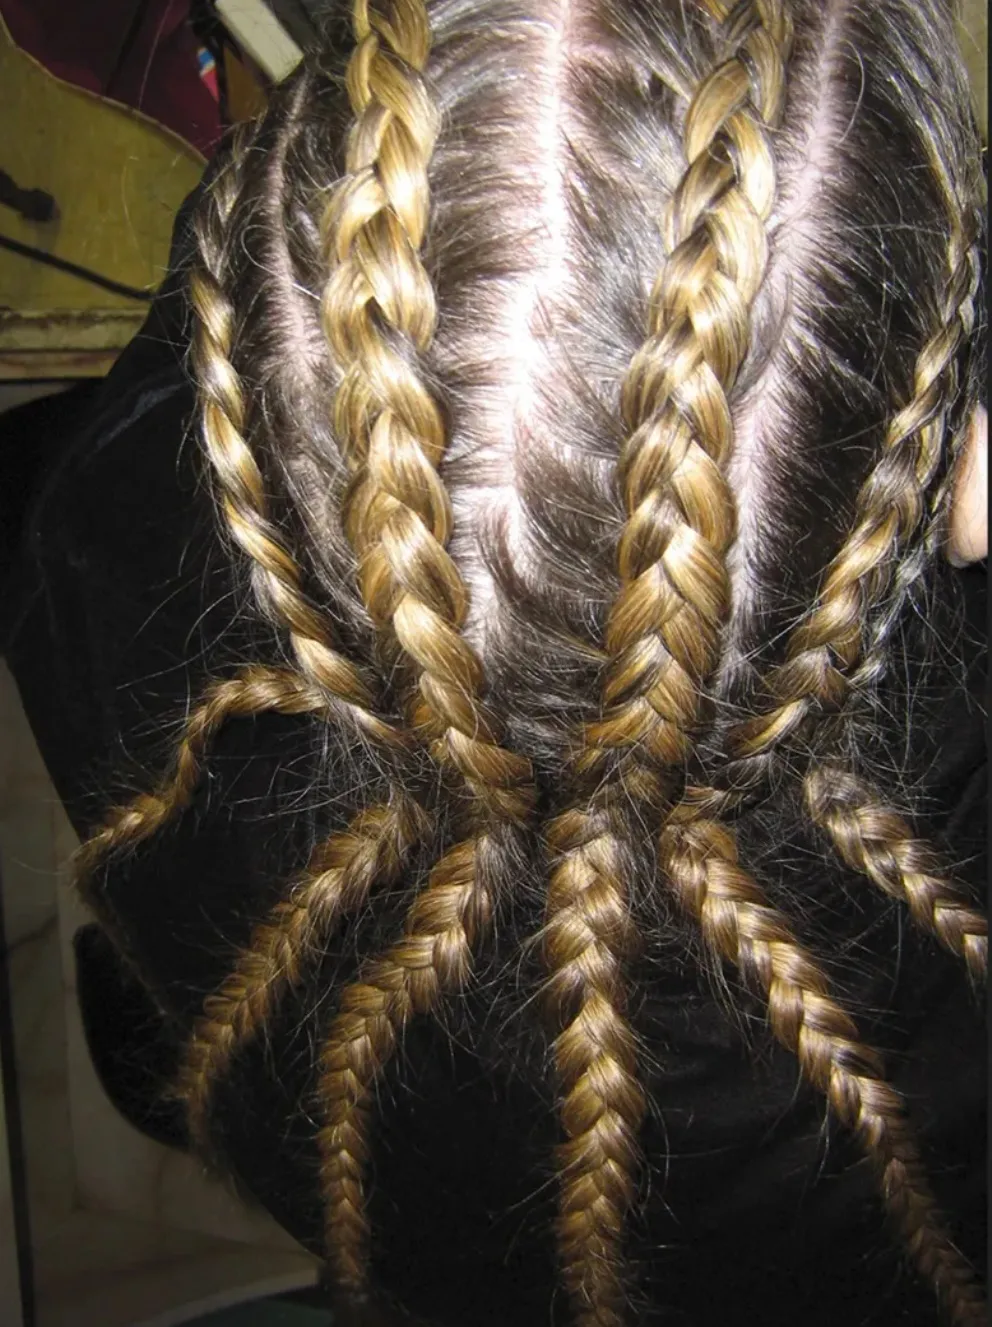
Braid each individual strand and then coil the newly braided hair so that you have a braided coil at the top and the bottom of the Twist. This will add interest 6. Separate a 2 or 3 inch section of hair and braid a three strand brand from the hairline back to the middle of the head (see image to the side). Instead of pulling hair into a nape ballerina bun like shown, pull the back of the hair into a classic French Twist. 7. Create the French Twist. Using a rat tail comb gently create a series of hair loops that are pulled loose from the Twist. If desired, pull the loops completely out of the bun so that they hang free from the bun. 8. Separate your hair into two sections, a top and bottom. Pin the top section off. Brush the lower section into a French Twist using either the formal or informal instructions listed above. Pin the French Twist well. Take the top hair and backcomb to get fullness. Create a loose hair roll or Ballerina style bun that nestles against the top of the French Twist section. Pin well and decorate. Summary Follow the example of savvy celebrities and their famous hairstylists and borrow traditional hairstyles from the stars of yesteryear. Modify the classic basic styles like the French Twist to be customized to your own Prom look and image. Have fun and think outside of the box by playing with different parts, hair color and accessories to punk up or make your look ultra trendy. |