Phytospecific Relaxer #2: A Review
Introduction
Where I live it’s humid nine months out of the year. It's a curly head’s nightmare! I love my curls, but once I go outside, the curls turn to a frizzy mess. I am often straightening my hair, but like a lot of women, straightening hair is very time consuming. It takes me about 40 minutes total to completely straighten my hair. I also use a lot of products as well as a good flat iron. The results, smooth…...until I go outside. My hair would get thicker and thicker, especially near the nape of the neck where it tends to kink up the most. I love to go swimming and spend time at the beach, but when I came back out of the water, my hair would be at it’s worst, very frizzy and tangled curls. Getting ready always took forever, so I would straighten my hair at night and then in the morning, run a flat iron through it. So many times I wished I could just get out of the shower, wash and go. My hair’s texture is very coarse and dry. I’ve had highlights and color added to my hair throughout the years. Using a straightening iron and constant blow-drying added to the dryness, which made it nearly impossible to fix it curly since curly hair needs moisture. I’ve used a relaxer twice on my hair. I really did not want to lose the curl, but I did not want to work so hard on getting it board straight either. Achieving board straight hair with such a coarse texture is nearly impossible without a lot of legwork. Phytospecific Phytorelaxer #1
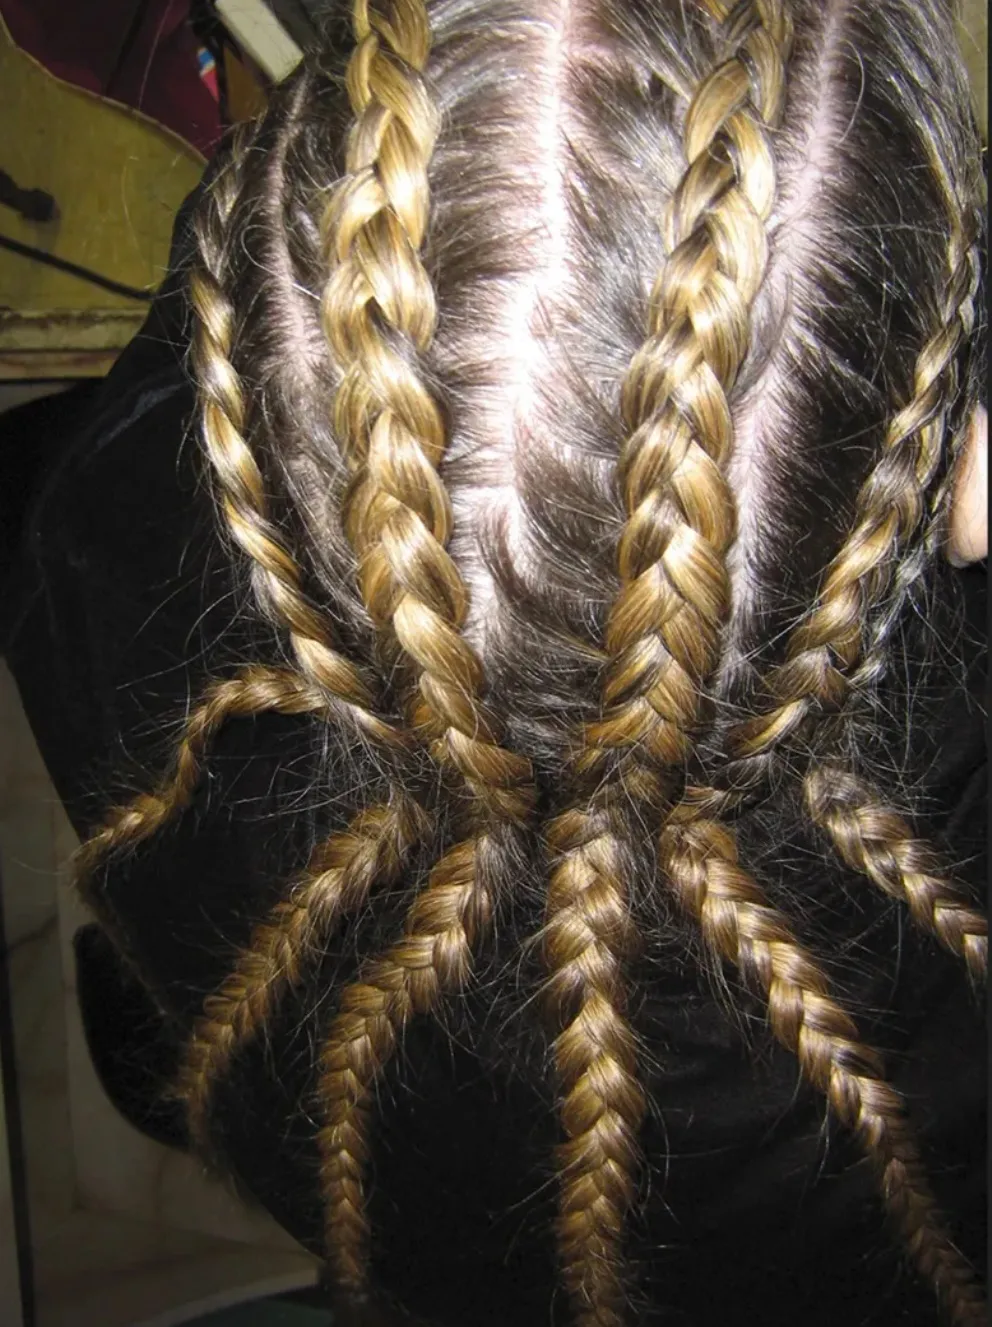
I heard about a new relaxer by Phytotherathrie called the Phytospecific Phytorelaxer. I’ve read several comments from previous users, and all with good reviews. Phytorelaxer is a formula that includes egg and Soya extracts. It contains no-lye and is odorless. I use Phytodefrisant on a daily basis and as well as the Phytologie shampoo and conditioner line, so I knew the product must be good and very safe for my hair. I did not want to add more damage to my brittle hair, so I thought that Phytorelaxer was the way to go. I received the package, which contained all the items needed to relax the hair (plastic gloves included). There are two Phytorelaxer formulas: Index 1 for delicate, fine hair and Index 2 for normal, thick coarse hair. I used Index 2. The relaxer is a two-step process: application of the straightening complex and smoothing hair with the straightening complex. I also had to use a wide toothed comb, application brush, and hair clips to separate hair (not included). The instruction is included in the box and fairly easy to read and is translated in many different languages. There are many do’s and don’ts before using this relaxer so be sure to read it before applying the product. The instructions instructed not to shampoo hair 3 days before applying relaxer and also not to use a hot comb 8 days before relaxing your hair. I had not washed my hair for 2 days so I thought I would be safe, but I did use a straightening iron early that morning. It also mentions not to cut hair before applying the relaxer and to not apply the relaxer to freshly braided hair. Read The Do's And Don'ts Before You BeginI definitely recommend that you read the entire do’s and don’ts list a few days or a week prior to applying this product. The box contains the straightening cream tub, which is half full. When I first received this product, I thought that it had already been opened. But the tub is half full because you will be adding the inductor, which prepares the relaxer. If you have short or medium length hair, you will not need to use the entire container. I suggest using a separate bowl so you may use the product again for later touch ups. It also includes a pre-care balm, neutralizing emulsion, a reconstructor that works like a conditioner, and a wooden spatula. Step One In The Relaxing ProcessI first applied the pre-care balm around the hairline and sensitive areas around the ears and neck to protect from any chemical burns. I mixed the 2 products, straightening cream and inductor, until smooth and a unified color as indicated. While I let it sit for 5 minutes; I separated my hair into 4 sections, two sections in the back behind my ear and two sections in front. Be sure your hair is combed thoroughly and tangle free. The application brush came in handy even though it was not mentioned in the instructions as part of the tools. At first I used the flat side of my wide toothcomb as instructed, but it was too difficult to scoop up the product onto my comb and apply it evenly onto my hair. The product is very thick so dripping was not a problem. The maximum time this product should stay in your hair from start of application to finish is only 25 minutes. The instructions instructed that you apply the product to the hair from the top layer down. Since this was only the application portion, you do not have to be preoccupied with smoothing at this point. I applied the cream mixture, which is not odorless, unlike what the box reads. It has a strong odor but is bearable. Be sure your have even coverage but do not run a comb through your hair. Since I could not see the back, I had to depend on feeling if the product was completely covering my strands. Having hair clips made it much easier to separate the hair while applying the product. Step Two In The Relaxing ProcessThe second step is smoothing the hair with the already applied straightening complex. This part I found a bit hard since the complex is so thick. I used my fingers and the back of the comb to completely straighten out each thin section. Using the back of the comb against each section is almost like straightening a ribbon with scissors. You want to achieve the flattest look possible so that the relaxer will hold the straightened hair. I found that my hair got easily tangled in the cream mess, so I did comb as much as I could without taking out any of the product. I also reapplied mostly in the back and the bottom parts where my hair swells up most from humidity. The key to applying this product is to straighten it with the backside of a wide toothcomb in narrow sections. After my 25 minutes was up, the next step was to rinse with the neutralizing emulsion, which cleanses and stops the relaxing process. The good thing about this product is that is has a color signal, which allows you to see when the neutralization process is done. The foam will be pink at first, but will gradually turn white. The instructions instruct you to repeat the shampooing with this product until the foam turns white. I shampooed 6 times and it still was a light pink. I felt that my hair was completely squeaky clean and neutralized so I continued to the next step which was adding the reconstructor. The reconstructor acts like a conditioner for your hair. I applied this and left on for 7-10 minutes and rinsed. Straight Hair With Volume
I ran a straightening iron through it to get a smoother look and it took me less than 5 minutes to fix. My hair felt a little heavy, but I knew that would go away after the next shampoo. The following day, my hair was still extremely shiny, not dry one bit and exceptionally straight and smooth. I even stayed outside for 30 minutes in 95-degree weather with 100% humidity, and nothing at all… not one frizz. After - The Ratings & Results The only downside to this product is that I will not be able to fix my hair curly again until the relaxer is completely out. Be sure before you apply this product that you want to go completely straight and be prepared for the beautiful frizzless results! This relaxer will make you enjoy fixing your newly straightened frizzless hair, with no more fuss! Social Media Network InformationPlease follow me on Twitter at: http://Twitter.com/HairBoutique. I look forward to meeting new Thank you for visiting us at The HairBoutique Blog and for leaving your comments. They are very much appreciated. We apologize in advance but must remove any direct advertisements or solicitations. - Revised Date: 07/07/10 | ||||||
| If you want to talk more about this or other hair care articles on HairBoutique.com or anywhere else, please post a message on HairBoutique.com's Hair Talk Forums.
|
Social Media Network Information
Please follow us on Twitter at: https://Twitter.com/HairBoutique. I look forward to meeting new people from all walks of Twitter and learning from their Tweets.


 My overall satisfaction with this product on a scale from 1-10, I would definitely give it a 10 in results and a 7 in application. This is by far the best straightening product I have used and quite inexpensive too! I have enjoyed trying the Phytologie and
