


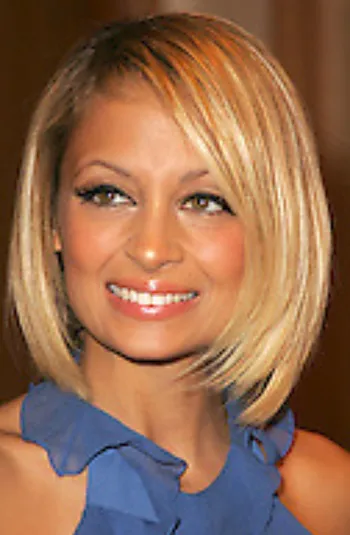
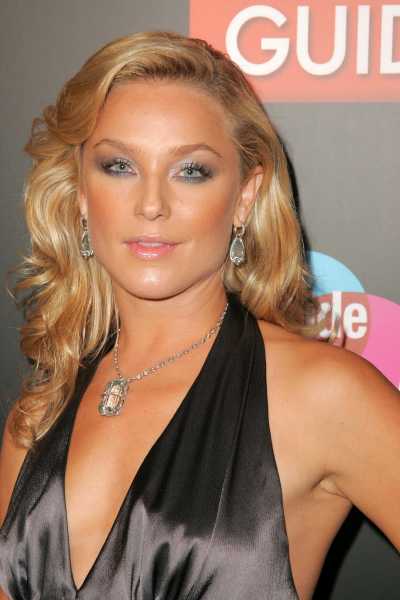
 (Image of Khadine in After photo when tressed like Beyonce).
 Although Khadine’s style was designed without any parts of fringes to show off her beautiful face and gorgeous eyes, a variety of different parts and bangs could easily be incorporated into a customized version of this look.
  To recreate this style, complete the following steps:
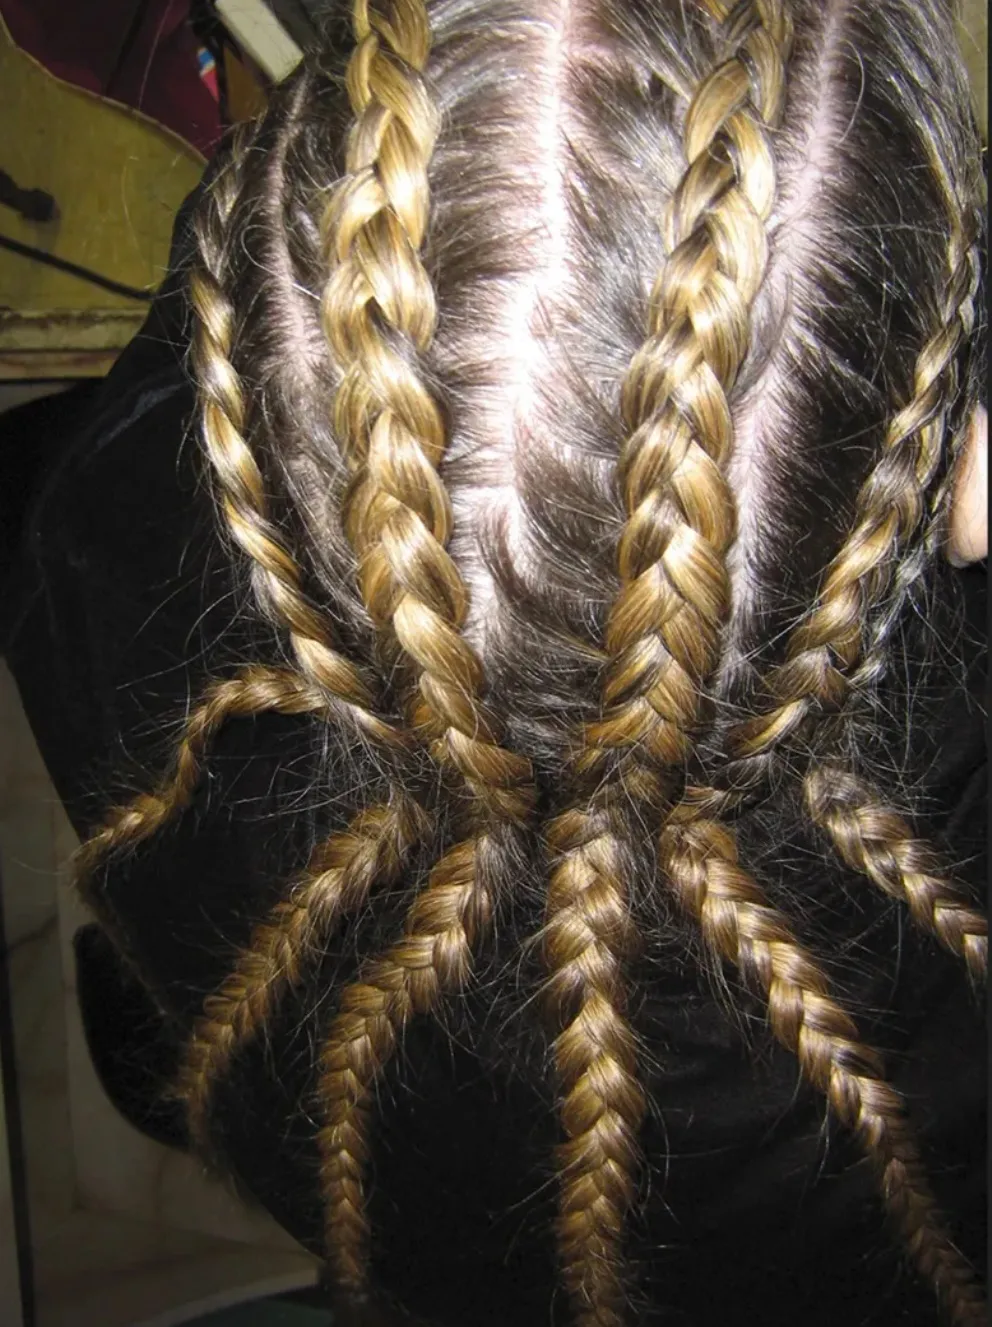
 When all of the targeted side and front hair has been completely straightened with the flat iron and allowed to completely cool, use a regular comb to separate out a 2-3 inch section of hair along the left side of the face.
  Move the finished braid in front of the ear and pin out of the way.
 Use your hand and wrist in a fluid motion against the underside of the hair as if you were scooping out ice cream away from your body to get the best fullness.
 Apply a complete circle of bobby pins the same color as the hair around the back of the crown. Position the bobby pins on top of each other to help hold the bun securely into place.
 As you anchor the side section of hair be sure to gently push the crown section towards the front of the head to give it fullness and height.
 Release the braid and pull it across the entire front of the head and guide it down behind the opposite ear.
 Apply a drop or two of a shine serum like Robert Hallowell's
 Although this gorgeous beehive style bun that is accented with a braided headband was created on hair without any extensions, if you have medium length or short hair and wish to try and recreate this look, play with add-on hair.
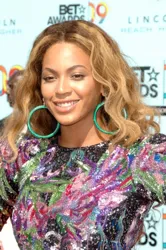

Wanna talk?
HairTalk® is the place for you!
Copyright 1997-2024, hairboutique.com, All Rights Reserved.

Introduction
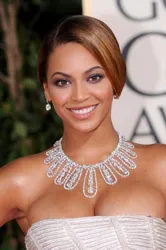
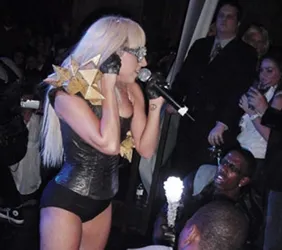
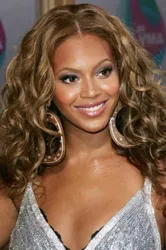
Super talented Beyonce Knowles of Destiny’s Child has always won rave reviews for her beautiful hair from the minute she exploded onto the scene back in 1997. L’Oreal agreed with fan admiration of Beyonce’s tresses. In August of 2004 the cosmetics giant awarded Beyonce with a five-year contract instantly elevating her celebrated follicles to millionaire status. Indeed, it was reported that the gorgeous "Crazy in Love" songbird will make in the neighborhood of $4.7 million for her recently signed L'Oreal hair endorsement deal.
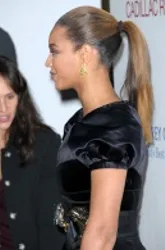
Apart from a stellar singing career racking up millions of album sales and Grammys, Beyonce won rave reviews for her role as the outrageous Afro tressed Foxxy Cleopatra in 2002’s Austin Powers. Beyonce's success is blowing up all over the place and she is winning raves not only for her singing but her acting. The gorgeous Virgo has been widely admired for her dizzying array of ever changing spectacular hairstyles ranging from huge Afros and big hair twists to waist length luscious golden weaves and center parted winged dos that evoked memories of Farrah Fawcett from the 60s. It's hard to imagine a hairstyle that wouldn't look stunning on the beautiful star.
Getting Started Notes
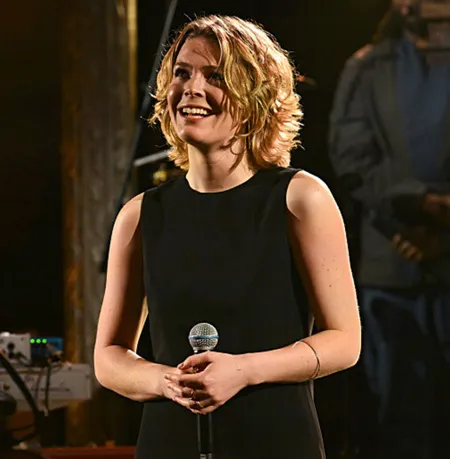
(shown to the side in a Before photo) is a Beyonce look-a-like. Just like the lovely lady of song, Khadine has baby fine hair that was previously chemically relaxed. Even though her hair is finely textured, she actually has a lot of hair. (Hair by Barbara Lhotan, Photo by Eric Von Lockhart - Courtesy MultiMedia International - all rights reserved - Hairboutique.com).
Although most of Khadine’s strands are 100% her own, she did have a few leftover random weave pieces attached to her natural tresses, which are shoulder length. In order to create a spectacular transformation of Khadine to a Beyonce look-a-like, Barbara Lhotan skillfully and meticulously back brushed Khadine’s entire head using a Mason Pearson brush, rather than a comb. Barbara explained that using a comb instead of a brush on Khadine's relaxed, fine strands might have inflicted more damage. Best Styling TipsRegardless of your hair's texture, type or actual length, it is important to start with strands that are completely dry and dressed properly with the necessary styling products to help hold the finished set. Before you start make sure that you have all the proper tools including plenty of hairpins, a good brush and comb. If you wish to add hair accessories be sure you have them ready to be added to the style at the end. Remember to use good styling sprays or related products to give hair instant texture and ease of styling. Creating Style At HomeWhen created correctly, this style may require the assistance of a skilled hairdresser. Why? A truly great beehive type of bun like the one created for this article, involves lots of precision to achieve. Keep in mind that when crafted properly, the style can take some time to finish. If you do decide to do the style at home be sure to have several practice runs before the night of the big hair event. Instructions - Steps To Create 1. Begin by using a soft boar’s head brush or similar natural bristle brush to make sure that all knots and tangles are completely removed from all strands. Using your hands along with the brush, direct all of the hair towards the back of the head and off the forehead area.. 2. Working around the head use a flat iron to straighten and smooth all of the strands from the front of the hairline to the middle of the crown where the bun will be situated. Flat iron approximately 1-2” of hair at a time. 3. Note: You have the option to make the braid thicker or thinner by using more or less hair in the braid. 4. Comb the side section of hair until smooth. Separate the section into three equal smaller sections. Braid the newly separated strand into a traditional three strand English or Dutch braid. 5. 6. Starting at the front of the hairline use your hand to lift up the top section of hair creating a type of vertical section of hair that extends from in front of one ear to the other. 7. After you have lifted up the front section of hair you should have two sections of hair, a front and back section. Using your hands in conjunction with a Mason Pearson or similar boar’s head brush, lift approximately 1-2 inches of hair from the top section of hair begin to back brush. Hold the ends of the top section straight out from the scalp with one hand. Use the Mason Pearson or similar style brush to backcomb the hair towards the base in sharp sweeping strokes. Note: The advantage of using a brush instead of a comb is that there is less potential damage to the hair. Another advantage is that it is possible to get really “big hair” with a brush that might not be as easy to achieve with a comb. 8. Continue to back brush the first top section of hair until you achieve the desired height and fullness. When the volume you desire has been achieved, spray the entire section with a firm holding hairspray. 9. Pick up the next section of hair underneath and repeat the same steps. Continue to back brush and spray until all of the back hair is completely backcombed and as full as you wish. 10. Using a regular comb, position it so that it lies flatly against the backcombed strands. Gently smooth and mold the teased hair sculpting it into a big rounded bun. 11. 12. Use your hands to gather the newly smoothed back hair into a ponytail formation. Attach two opposite facing bobby pins at the very ends of the teased hair section. 13. Take your fingers and hold the two bobby pins like a rolling pin. Slowly and carefully roll the teased hair section under towards the circle of bobby pins creating a fat beehive style bun as your roll the hair.
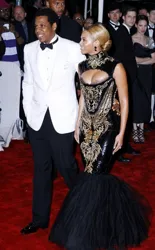
Note: 14. When the ends of the teased pony strand meets the circle of bobby pins on the scalp, attach the bobby pins so that they overlap the scalp pins. 15. Use your fingers to carefully fluff and scalp the bun until it achieves the desired asymmetrical shape. Make sure that the new bun is securely attached to the scalp around the circle of bobby pins. 16. Liberally spray the newly formed bun with a firm hold hairspray. 17. 18. Anchor the end of the braid close to the base of the ear on the back side of the head so that it does not slip. Tuck the end of the braid under the bun area and pin well against the scalp. The goal is to hide the end of the braid in the back of the bun so it is not obvious. 19. Finish the style by lightly brushing any loose front hair pieces over the ears and towards the back. Tuck any loose ends into the bun and pin securely. 20. Apply a drop or two of a shine serum onto your palms and then lightly glide over the top of the style to add instant shimmer and shine. Spray well with hairspray. 21. 22. Attach any desired hair accessory to the finished style. Because this is such a glamorous style, if accessories are added, they should be small to avoid detracting from the incredible beauty of this classic pin curled style. Note: Remember to always attach accessories last after all styling products have been applied to avoid damaging delicate accessories. Summary (Image of Khadine in After photo when tressed like Beyonce shown below). This backbrushed style is sophistical and regal which is befitting the royal Beyonce. (Image of Beyonce Knowles at The Fighting Temptations World Premiere, Grauman's Chinese Theatre, Hollywood, California, September 17, 2003 - Stephen Shugerman - DailyCeleb.com - all right reserved). All hairstyles created for this article by Barbara Lhotan. Photography by Eric Von Lockhart. | ||||||
| If you want to talk more about this or other hair care articles on HairBoutique.com or anywhere else, please post a message on HairBoutique.com's Hair Talk Forums.
|
Please follow us on Twitter at: https://Twitter.com/HairBoutique. I look forward to meeting new people from all walks of Twitter and learning from their Tweets.

