

Wanna talk?
HairTalk® is the place for you!
Copyright 1997-2024, hairboutique.com, All Rights Reserved.

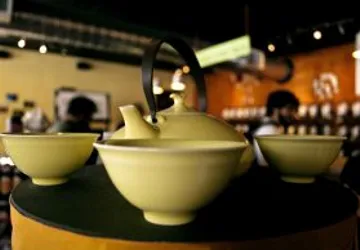
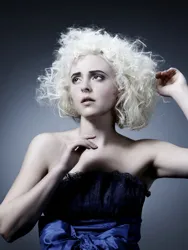
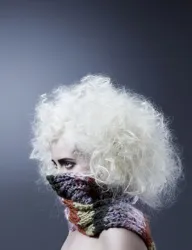
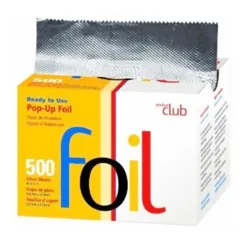
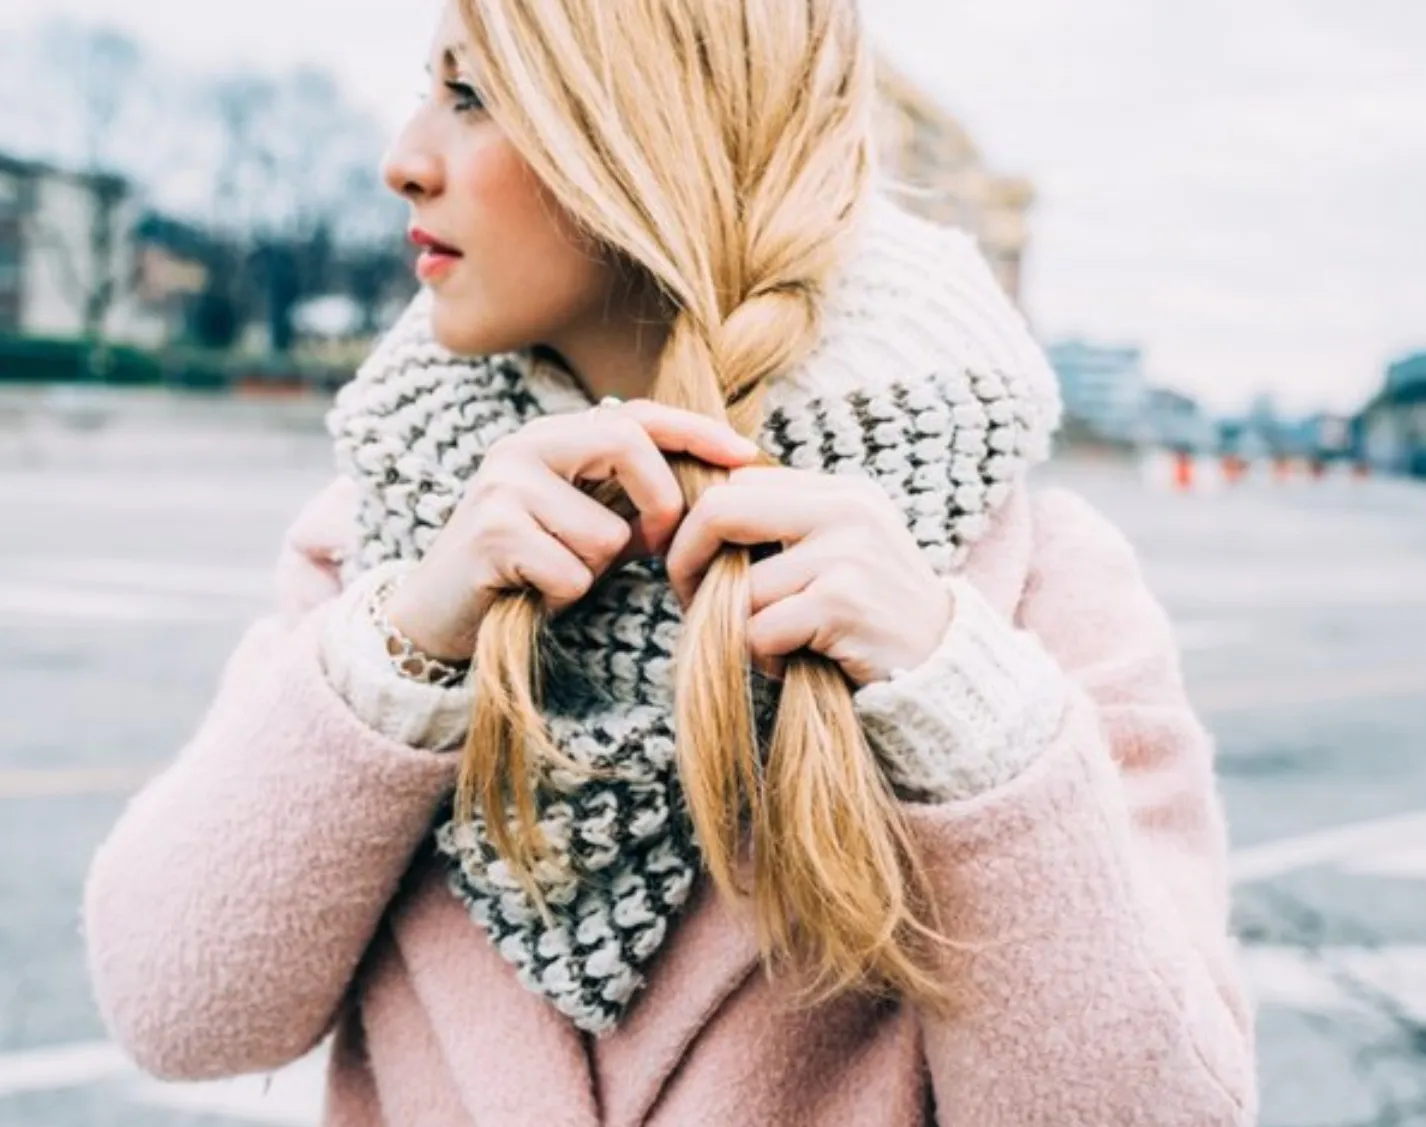
IntroductionAlthough I had heard of curlers made out of popsicle sticks, pipe cleaners, straws, plastic knives, forks and rags, I never heard of aluminum foil curlers. As luck would have it, I started receiving tons of email asking me how to achieve the "aluminum foil" curls. I was so curious by the concept of aluminum foil curls that I had to hit the R&D trail and figure out how to create my own foil enhanced locks. After lots of research and using my hair as a guinea pig I discovered some of the tricks to using aluminum foil. Not only did I learn that my hair required the heaviest foil I could find. I discovered that the cheaper foils were harder for me to use with my thick long hair. I also discovered the importance of using a good styling gel to get a firmer set. Although I tried the foil curlers on my hair when it was newly shampooed, I discovered that the less rinse-out conditioner I used, the better my hair responded to the curlers. I also learned that a little detangling spray coupled with a good gel/mousse was just the trick I needed to be successful with the technique. Like any other eclectic hair styling technique, this one took some practice. After the third try I was able to create exactly the type of curls that I was aiming for. Practice and experimentation make perfect. I can say that this technique will probably not work for everyone. Theoretically it should work great for all hair types and lengths. However, I suspect that either very short or very long hair may find the process more troublesome because of their length differentials. Should you try it? Consider the pros and cons and proceed at your own risk.
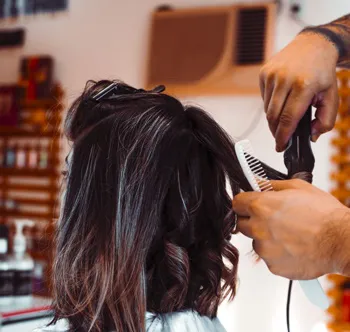
Foil Curling InstructionsBefore you start make sure you have enough aluminum foil so that you can cut strips that are approximately 4-8 inches wide and 6-12 inches long. Foil curlers can be used on either newly shampooed towel dried hair or completely dry hair that has been heavily misted or prepared with styling spray, mousse or gel. If you decide to create the curlers on dry hair make sure that you are liberal in your use of styling products to give the hair enough dampness to take the curl. The length of the foil strips are directly related to the length and thickness of your hair.
Although the aluminum does absorb the heat from the hair dryer to accelerate the heat, there is no danger of the foil melting. It is always wise to avoid high heat on the dryers to prevent heat damage to the hair cuticle. Once each curler is warm to the touch, turn off the dryer and let the hair completely cool down. Wait several minutes once the hair is cool and then remove the foil. Be careful to avoid ripping or tangling your hair. Remove the curlers gently and then let the hair cool a little longer. Use your fingers to style your hair. Avoid using a brush or comb which could displace some of your new curls. Be careful not to use styling tools unless necessary. Once you have your style the way you like, spray with a good styling spray to hold the set. Special Hints For Rolling Long HairI know that creating foil curls can be a challenge when you have long hair. I happen to have hair that is several inches below my waist and had to create my curlers without any outside help. One trick that I have used in the past with rag curlers is to "cheat" with either a big thick pencil, or wooden ruler. These secret weapons helped me to achieve "traction" with my hair and assist me with my quest to roll tight uniform curls. Lay the pencil or ruler in a horizontal direction under the foil. When you curl your hair under the foil, you will also curl it under the pencil or ruler. Basically you will have the following foil curler formation: 1. Horizontally placed pencil or ruler. 2. Horizontally place aluminum foil strip. 3. Tip of hair strand placed vertically in the center of the foil strip. Using the pencil or ruler will give you more control as you roll. Once you get the foil positioned on your head, right before you twist the foil ends together, slip the pencil or ruler out of the curler. Be sure to only use very smooth and clean pencils or rulers. The last thing that you would want to do is snag or pull any precious hair. SummaryAluminum foil curlers can be used to heat up your style and create fabulous curls. The difference between foil and traditional rag curlers is the heat factor that is accelerated through the use of a hair dryer. The beauty of aluminum foil is that it is easy to find and works well for all lengths and textures of hair from short to very long. |
| If you want to talk more about this or other hair care articles on HairBoutique.com or anywhere else, please post a message on HairBoutique.com's Hair Talk Forums.
|
Please follow us on Twitter at: https://Twitter.com/HairBoutique. I look forward to meeting new people from all walks of Twitter and learning from their Tweets.

